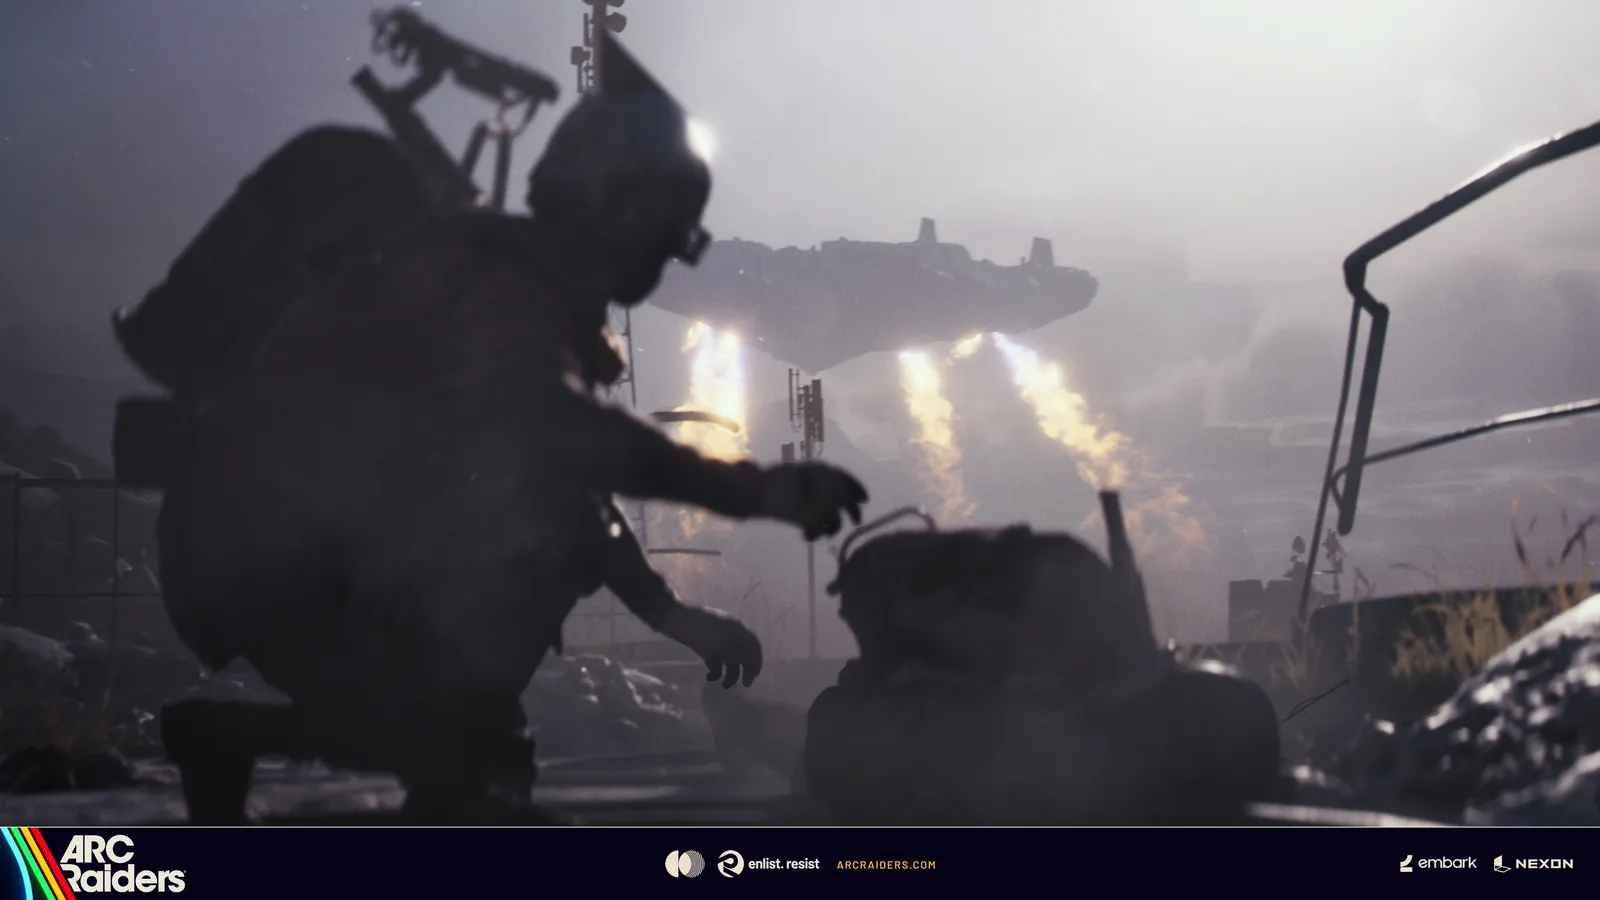
The Frigate is a huge ARC carrier that hovers over the map during a raid. You board it, shoot out its power cores section by section and finally release its cargo, which holds the best chance of Amplification Modules in the game. It is a squad objective: several steps need two or three Raiders on buttons at the same time, and Hydra turrets punish anyone who runs in alone. Current as of Frozen Trail and its later updates, November 2026.
What is the Frigate?
The Frigate is an ARC Operation, a map condition you queue for, and it arrived with Update 2.0 (Frozen Trail). It can appear on Dam Battlegrounds, Buried City, Spaceport, The Blue Gate, Riven Tides and Pendola Pass. It usually shows up a minute or two into the round, and rounds with the condition run longer than normal (about 35 minutes according to the community wiki).
While it is active:
- Locked rooms are not available, loot across the map is worth less, and Raider Hatches are disabled, so you leave through a normal extraction.
- Free loadouts are disabled. Bring your own kit.
- Fewer ARC roam the surface, and ARC Turbines do not spawn.
The ship itself only attacks with a pair of autocannons that hammer the ground, telegraphed by a sound cue and blue lasers. The real danger is what lives on board: Rocketeers, Vaporizers, Fireflies, Hornets, Wasps and the new Hydra, a three-barrelled turret found only on the Frigate and inside the Fallen Emperor on Pendola Pass.
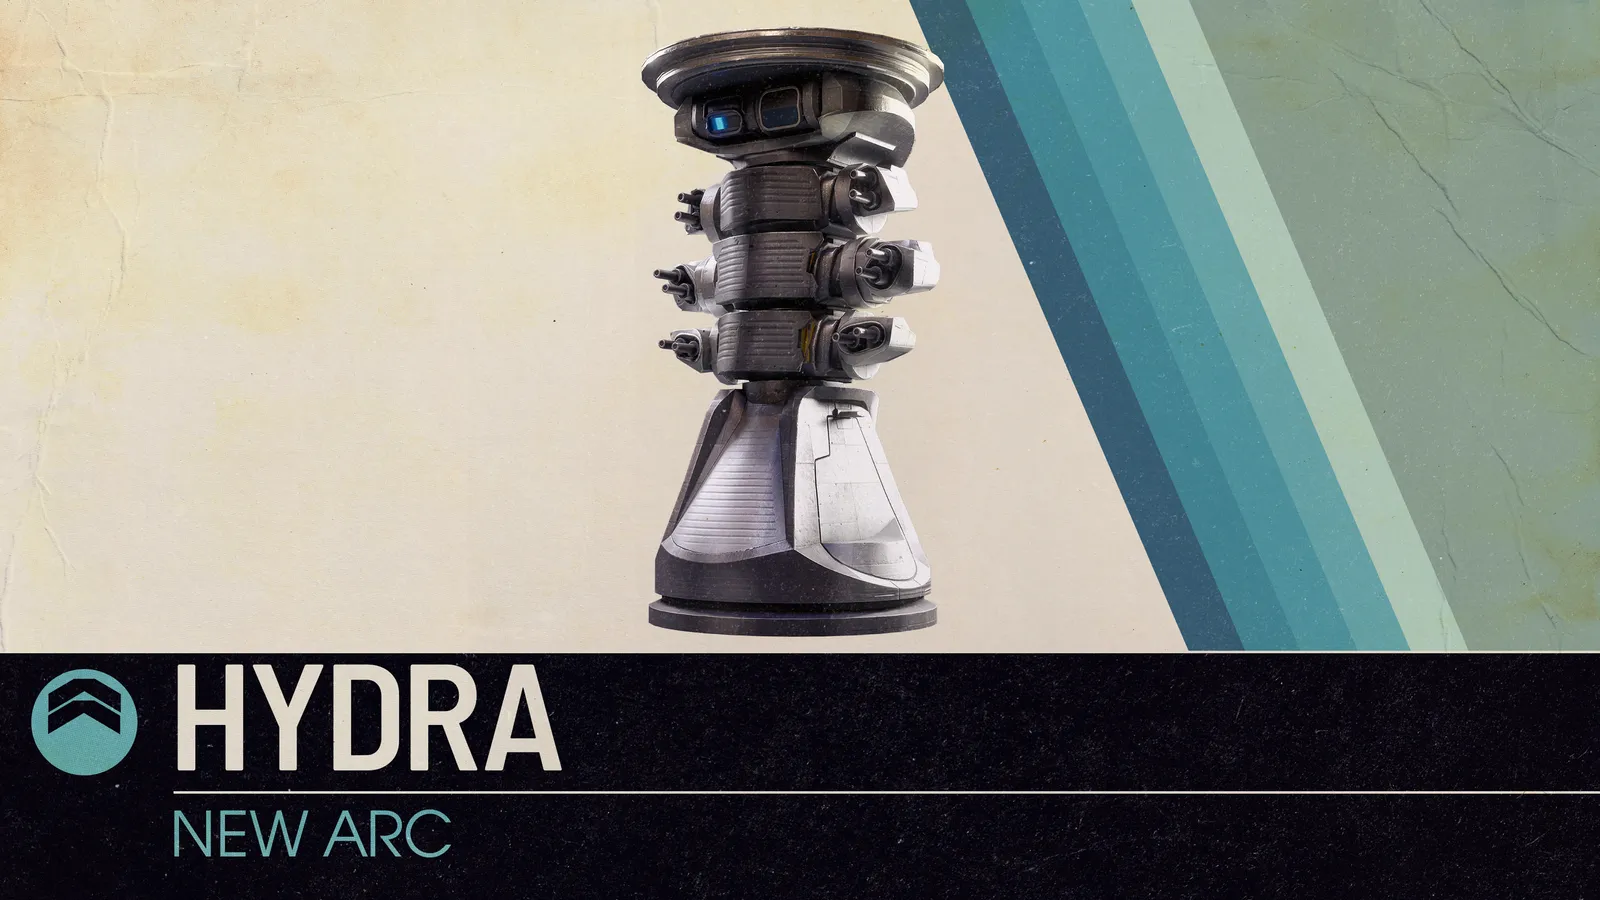
Hydras guard the power cores on the Frigate.
How do you get on board?
- Go to the rear of the ship and watch for the smaller Reclaimer machines that fly down to a low hover and then back up.
- Stand on the Reclaimer while it hovers, then use the Disrupt prompt on its centre. It lifts you towards the Frigate.
- Step off onto the hull and find the way into the atrium.
Keep away from the large guns under the hull. A grappling hook or Snap Hook helps with climbing later, and a Powered Descender is a useful way down if you do not want to ride the cargo.
What should you bring?
Guides agree on the same short list: plenty of ammunition, a medium shield plus a spare, defibrillators (falls and Hydra volleys down Raiders often), and a grappling hook or Snap Hook. Heavy hitters such as the Hullcracker make quick work of Hydras and power cores but burn through ammunition, so see our loadout guide for alternatives. Lure Grenades draw fire away from whoever is breaching a core.
How is the ship laid out?
The wiki splits the Frigate into six sections. Numbers below come from it and from a detailed community walkthrough that agree with each other; the interior is the part where guides differ most, so treat those counts as approximate.
| Section | What is there |
|---|---|
| Landing | The entry point where Reclaimers dock. Two walkways lead on each side to the Lower Atrium. |
| Lower Atrium | An elevator that needs two buttons held (or skip it with a grappling hook), four Hydras of which two are active at a time, and six power cores. Four of those cores are exposed by holding three buttons at once, and exposing them spawns more Hydras. The other two sit behind a second, smaller entrance and are the cores that power the cargo. |
| Upper Atrium | A walkway around the atrium with breachable containers and no power cores. The rear rooms each hold two containers and three routes up to the deck. |
| Top Deck | The hardest part: wide open ground, six Hydras (three per side) and 14 power cores. Wind blows Raiders towards fire traps until the cores on that side are destroyed, and two rear rooms fill with fire while their core is alive. |
| Cargo Hold | Two levels. The upper level has Hydras, yellow components to shoot and the doors to the interior; the lower level is quieter and holds the cargo itself. |
| Interior | Two mirrored rooms with Hydras and cores, then a turbine room with giant fans and a fog that drains health. Four more cores sit around the turbines. |
In total the wiki counts 20 power cores reachable from the outside (6 in the Lower Atrium and 14 on the Top Deck). Destroying all 20 is what opens the entrances from the deck to the cargo hold. The in-game objective list may show smaller numbers for individual steps, so follow it for the current step.
How do you sabotage the ship?
- Shoot the yellow components first. They run the machinery: they fold out steps in the atrium, slow turbines and open doors.
- Clear the Hydras before touching a core. Each Hydra has three independent sections. The rear is lightly armoured and exposes yellow weak points, which is the fastest way to kill one that is busy with a teammate. On the Frigate they respawn, so destroying one is a temporary fix.
- Breach, then destroy each core. Orange cores have to be shot until they go dark and shatter. Some must be exposed by button panels first, which is where the third and second Raider come in.
- Take the deck one side at a time. Kill the cores on a side to switch off its wind before moving to the next.
- Do not leave ARC alive near the cargo hold. Machines left in the zone can jeopardise the release, and clearing one half of the interior wakes the remaining Hydras.
How do you drop the cargo?
Once every core is down, go back to the cargo hold. Four latches hold the cargo to the ship and two circular latches finish the job, and opening the latches spawns two more Hydras on the lower level. The hatches inflict burning damage over time when they open (added in update 2.1.0), so do not stand in them. Two Raiders must interact on opposite sides at the same time for the release steps.
Raiders standing on the cargo when it drops are safe and ride it to the ground, which is the intended way off the ship. Developers have since adjusted the drop so riders are not knocked out by the side of the container, and the thrusters only burn the landing point. Be ready for other squads at the landing site.
What is the reward?
- Containers across the ship: mid-tier ARC loot, with a small chance of Amplification Modules, Frigate Inductors and ARC Data. Containers are denser in the dangerous parts.
- The cargo: the primary prize, with a far higher chance of Amplification Modules, Frigate Diagnostic Nodes and other parts used for amplification.
The Frigate Inductor matters beyond amplification: one is needed for the final Research Station upgrade in your Outpost. The Fallen Emperor on Pendola Pass is the other route to modules. For what to do with them, read the amplification guide, and for the Outpost side see the Outpost guide.
When should you skip it?
- You are alone or the squad is short; three Raiders are needed for some steps.
- You are low on ammunition, shields or revives.
- Your team cannot call out the next step before moving.
In those cases ride down and extract normally. The Frigate also draws other squads, so keep an eye on your back and read our guide to teaming up and avoiding PvP.
FAQ
Can you do the Frigate solo?
The steps that need three Raiders on buttons at once make a full solo clear impractical. You can loot some containers, but the cargo needs a squad.
Where does the Frigate spawn?
It is a map condition that can roll on six maps, listed above. Check the condition on the map screen before you queue.
Does the Frigate respawn Hydras?
Yes. On the Frigate a destroyed Hydra comes back, so use cover and finish the cores rather than farming Hydras. Inside the Fallen Emperor they do not respawn.
Quick tips
- One Raider breaches while another watches for Rocketeers and Vaporizers.
- Rotate aggro so a single Raider is not absorbing all the Hydra fire.
- Keep a defibrillator ready and call out the next objective before you move.