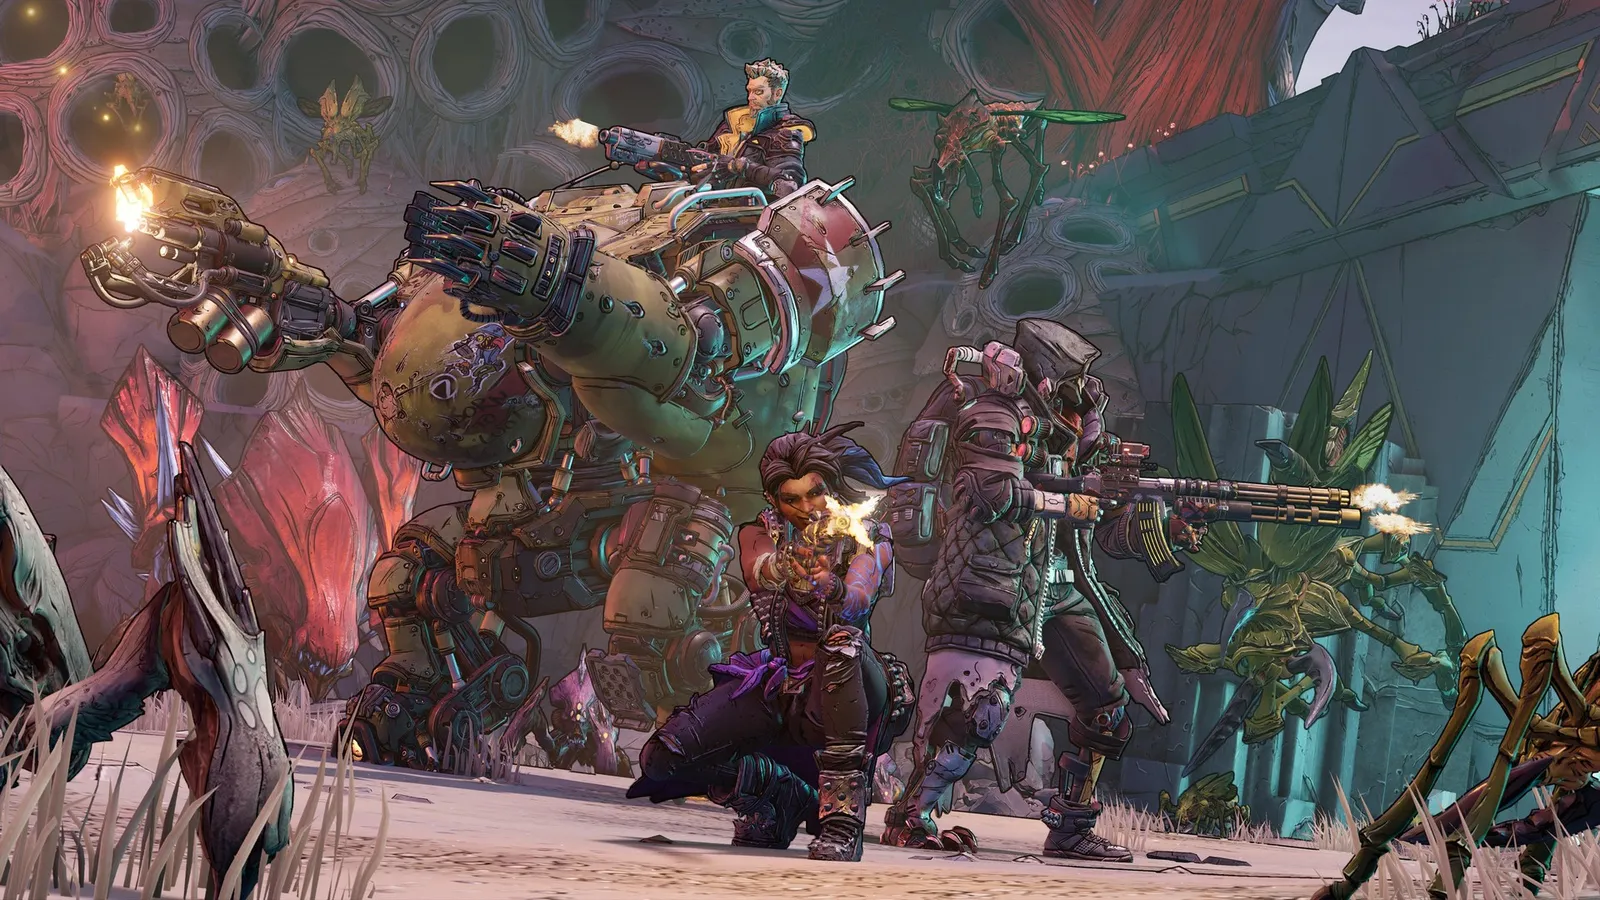
The best Borderlands 3 farms combine a fast kill, a boss that respawns and a dedicated drop you actually want. Graveward, Captain Traunt, Gigamind and Tyreen in the base game, plus Kormash, Tom and Xam, Freddie, Scraptrap Prime and Heavyweight Harker in the add-ons, are the usual choices. Pick the item first, find its source, and play at a Mayhem level where you kill quickly.
How does farming work in Borderlands 3?
Each boss has a loot pool with a few dedicated Legendaries. You kill the boss, check the drops, leave the area or reload so that it respawns, and go again. Bosses marked "respawnable" in the add-ons come back after you leave their arena for a few seconds and return, which makes them quicker than reloading the game. Mayhem Mode matters for two reasons: loot quality and Legendary rate rise with the level, and some weapons only drop from Mayhem 4 or Mayhem 6 and up (see our Mayhem Mode guide).
Which base-game bosses are worth farming?
Percentages are the figures listed on the community wiki; Gearbox publishes no drop rates.
| Boss | Where | Dedicated drops |
|---|---|---|
| The Graveward | Eden-6, under the Jakobs estate grounds | The Lob shotgun, Grave artifact and Ward shield, 10% each |
| Captain Traunt | Athenas, at the end of the Anchorhold district | Kaoson SMG (Mayhem 6+, 16.5%); Tankman's Shield sniper rifle (30% at Mayhem 4 to 5, 13.5% at Mayhem 6) |
| Agonizer 9000 | Guts of Carnivora, Pandora | Damned and The Dictator assault rifles, Crader's EM-P5 SMG (Mayhem 4+), Backburner rocket launcher (Mayhem 6+), and the unique Agonizer 1500 launcher |
| Gigamind | Meridian Metroplex, Promethea, near the coffee shop | Smart-Gun SMG and Red Card shield, 15% each |
| Tyreen the Destroyer | Final boss of the story | King's Call pistol (6%), Queen's Call pistol (9%), Bitch SMG (15%) |
| Katagawa Ball | End of the Space-Laser Tag mission | Brainstormer shotgun (30% on Normal, 13.5% at Mayhem 6+), Multi-tap pistol (Mayhem 6+, 16.5%) |
| Wotan the Invincible | Takedown at the Maliwan Blacksite | Kyb's Worth, Moonfire, Redistributor and Tiggs' Boom (18% each); at Mayhem 4+ an extra 8% for one item from a pool of eleven Legendaries and class mods |
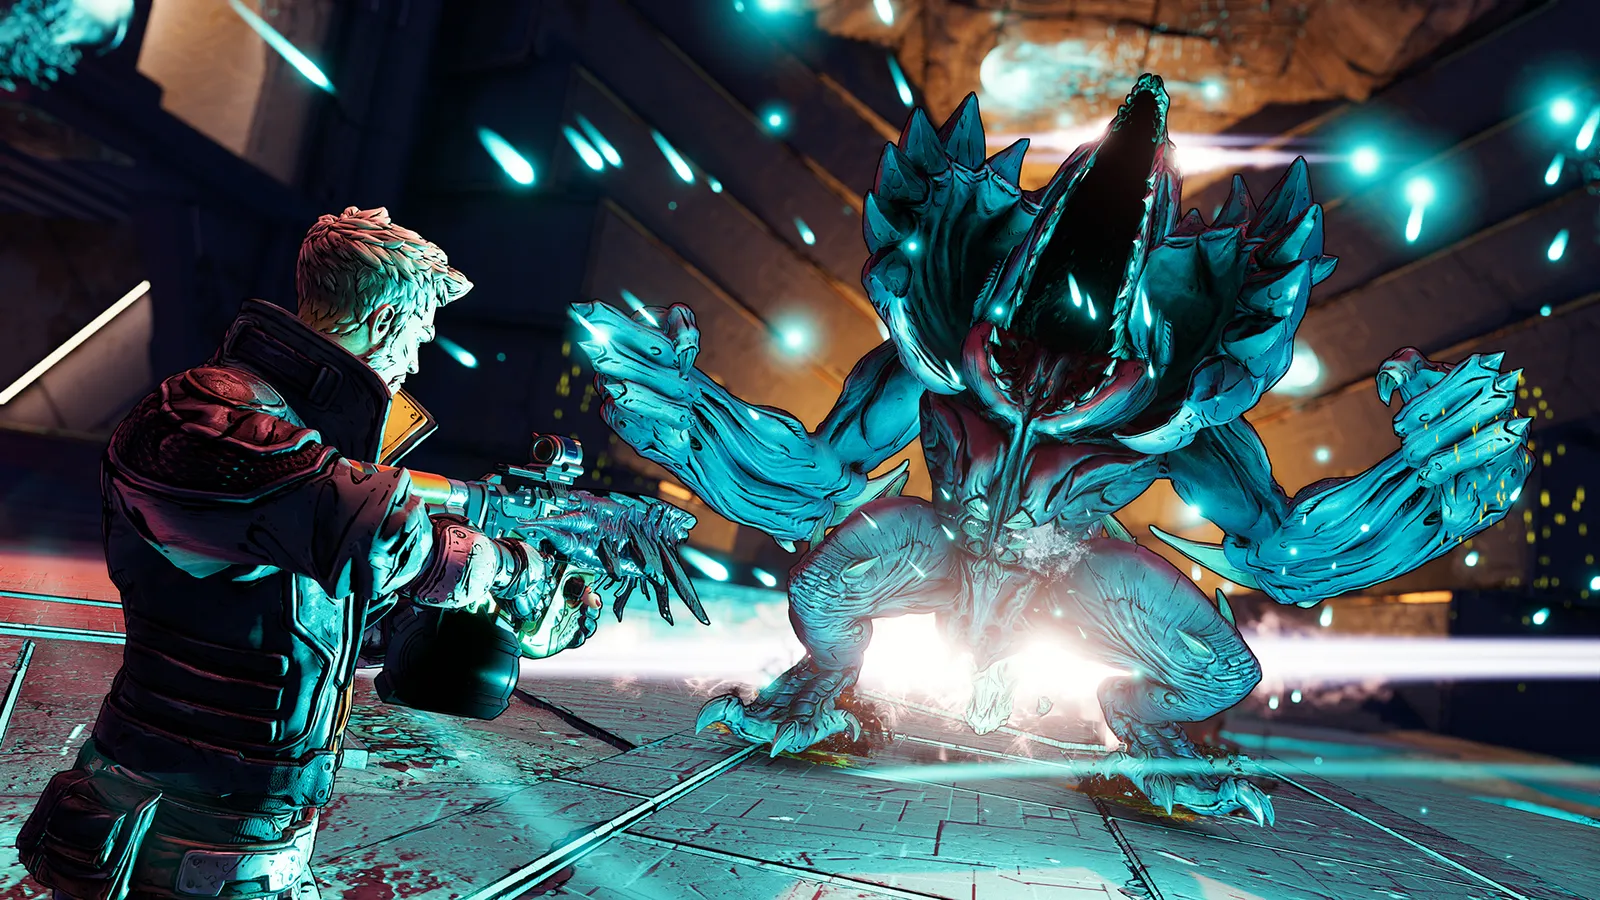
Boss fights you can repeat quickly make the best farms.
Of these, Graveward is the classic beginner farm: you can spawn right next to his arena, he has large critical areas, and his loot lands in a heap. Captain Traunt is quick to repeat and holds the Mayhem 4 exclusives. Gigamind is one of the easiest bosses to kill, which keeps each run short. Note that the Agonizer 9000's critical hit spots break almost at once at higher Mayhem, so you cannot rely on crits there.
Which DLC farms are worth it?
| Boss | DLC and location | Dedicated drops |
|---|---|---|
| Freddie the Traitor | Moxxi's Heist of the Handsome Jackpot | AutoAime sniper rifle (100% chance per the wiki) |
| Scraptrap Prime | Moxxi's Heist (respawnable mini-boss) | Boomer SMG and Lucky 7 pistol, 50% each |
| VIP Tower boss | Moxxi's Heist, final area | Cheap Tips SMG and Zane's Seein' Dead class mod, plus other add-on class mods |
| Tom and Xam | Guns, Love, and Tentacles, Heart's Desire on Xylourgos, close to the What Beats Beneath fast-travel station | Soulrender assault rifle and Old God shield |
| Kormash | Bounty of Blood, The Scalding Scrub in Ashfall Peaks | Stonethrower assault rifle |
| Ruiner | Bounty of Blood, Crater's Edge | Up to five Legendaries per kill; The Bloom pistol is a regular drop |
| Evil Brick and Evil Mordecai | Psycho Krieg and the Fantastic Fustercluck, inside Krieg's mind | Lovable Rogue assault rifle, Septimator Prime sniper rifle and the Flare class mod |
| Heavyweight Harker | Designer's Cut, Stormblind Complex (Arms Race) | Trickshot pistol, Madcap shield and Spy class mod |
| Hemovorous the Invincible | Director's Cut raid boss, Darkthirst Dominion | Atlas Replay, Ionic Disruptor, Ringer and Company Man |
Tom and Xam are a favourite because they respawn: leave the arena, travel to the nearby station and return. Scraptrap Prime also respawns when you leave and come back after a few seconds. Kormash is one of the most-recommended single targets in Bounty of Blood. Evil Brick and Evil Mordecai are close to a fast-travel station and can be revisited quickly. Heavyweight Harker's drop rates are described as relatively low in the community guides, so budget extra runs.
What are Arms Race, Trials and the Eridian Fabricator?
- Arms Race (Designer's Cut): a battle-royale-style mode with its own Legendaries, where chests are the main source. Frequent finds named in guides include the Tizzy, Plasma Coil, Torrent and Kickcharger.
- Proving Grounds Trials: timed trials (usually 30 minutes) across the planets. The "True Trials" version has a tougher boss and chests that always hold Legendaries, even if you miss the objectives. Guides name the Monarch, Backburner and Maggie as frequent True Trials drops.
- Eridian Fabricator: in Desolation's Edge on Nekrotafeyo; each pull costs Eridium (10 at the base level), for green-to-purple weapons and the occasional Legendary.
How can you improve the odds?
- Shlooter artifact. It comes with the Director's Cut Vault Card. After a kill it raises the Legendary chance of non-dedicated drops by 1,000% for 12 seconds. It does not change dedicated boss drops, so use it on mobs and bosses' ordinary loot rather than for a specific item.
- Use a Mayhem level you can clear fast, since the extra loot of a level you struggle on rarely pays for the extra time.
- Empty your backpack first, so you never stop to sell mid-run.
- Build for the farm: burst for a single boss, area damage for mobs.
- Seasonal events such as Bloody Harvest add temporary drop sources; check the event's rules when it is live.
Quick tips
- Pick one item per session. Dedicated drops beat random world drops almost every time.
- Save space: keep a handful of world-drop Legendaries with real use and sell the rest.
- Match your build to the farm; see the best builds guide.
- Check the DLC list in our DLC and editions guide before you plan a farm that needs an add-on you do not own.