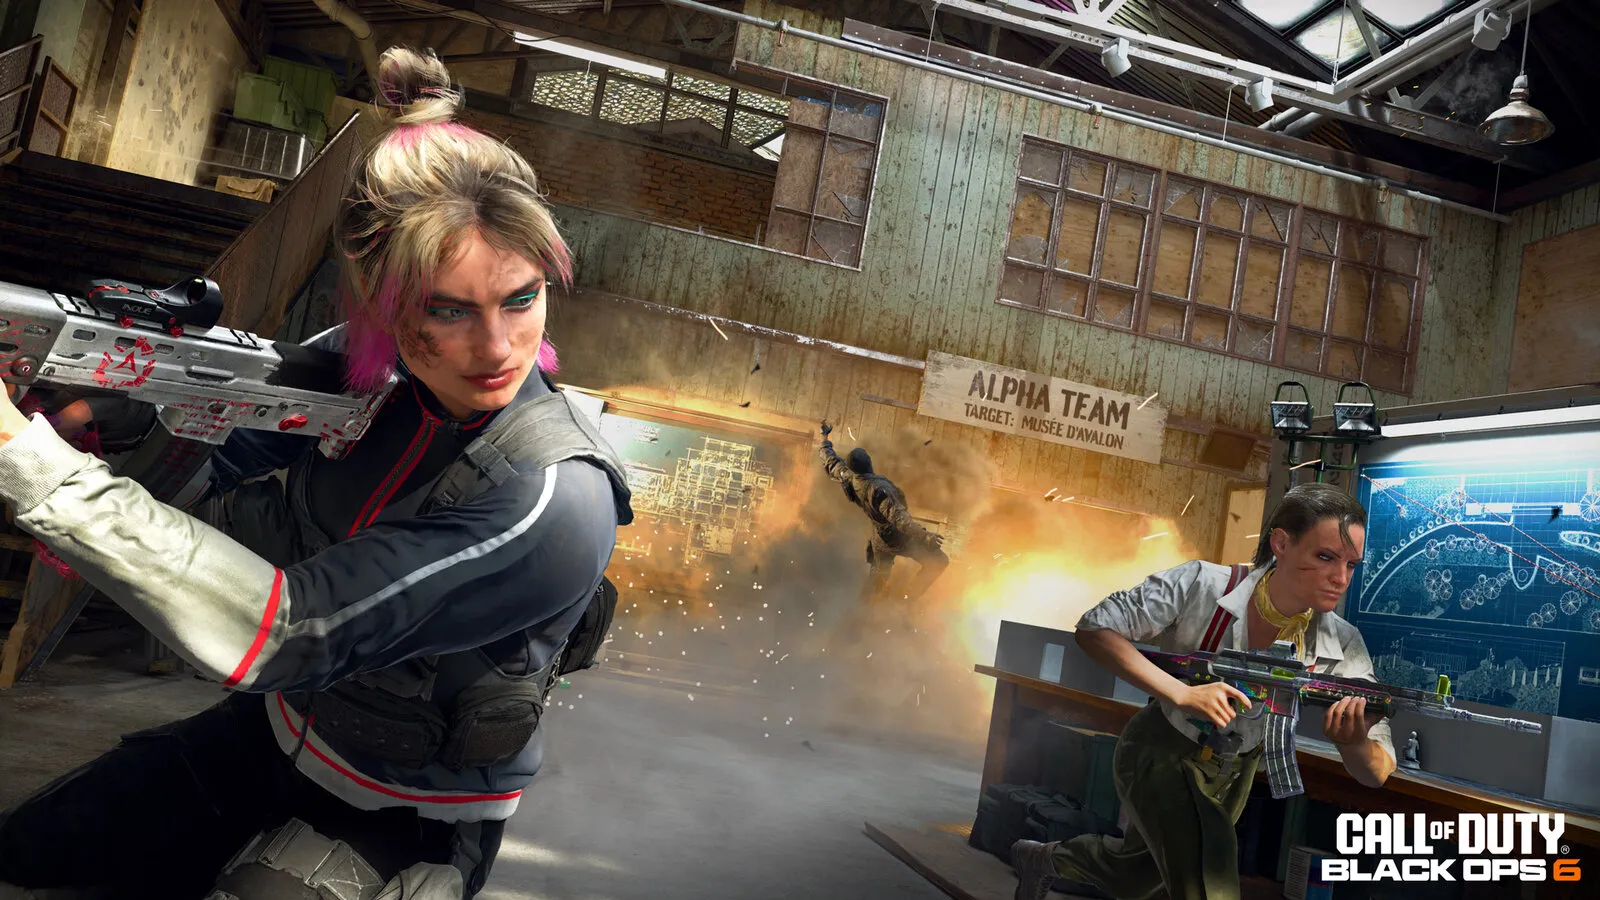
Guides disagree on the best Black Ops 6 controller settings, and they should: it depends on your hands and your controller. What does not change is which settings matter most: aim response curve, deadzones, sensitivity, Intelligent Movement and field of view. Start with the values below, then test each change in a private match.
For video settings and frame rate, use our FPS boost page, which does not repeat these input options.
Which aim response curve should you use?
You can choose Dynamic or Linear. Dynamic raises sensitivity from the outer edge of the stick at first, then eases off the longer you keep aiming, which many players and pros prefer. Linear is a straight one-to-one response. Try Dynamic first and keep it for at least a week so your muscle memory forms.
How do deadzones work?
The deadzone is the part of the stick travel the game ignores. Too large and your aim feels sluggish. Too small and drift moves your crosshair. The default values are a common complaint, and the triggers have their own deadzone that causes a short delay before shooting and aiming down sights. Sources disagree most here, with left stick maximums quoted from 60 to 75 and right stick minimums starting at 0 or 1. So use this approach:
- Set both stick minimums to 0 and the trigger minimums to 0.
- Look at the crosshair on a quiet screen. If it drifts, raise the minimum of that stick one point at a time until it stops.
- Leave the maximums high at first. Lowering a maximum makes the stick reach full speed sooner.
What sensitivity should you start with?
Recommendations range from 4 to 6 on the horizontal and vertical stick settings up to 7 to 9 for people who want faster turns. A mid value is a good start. If you often overshoot targets, lower it. If you cannot turn around fast enough, raise it a point at a time. Change only one value per session so you know what helped.
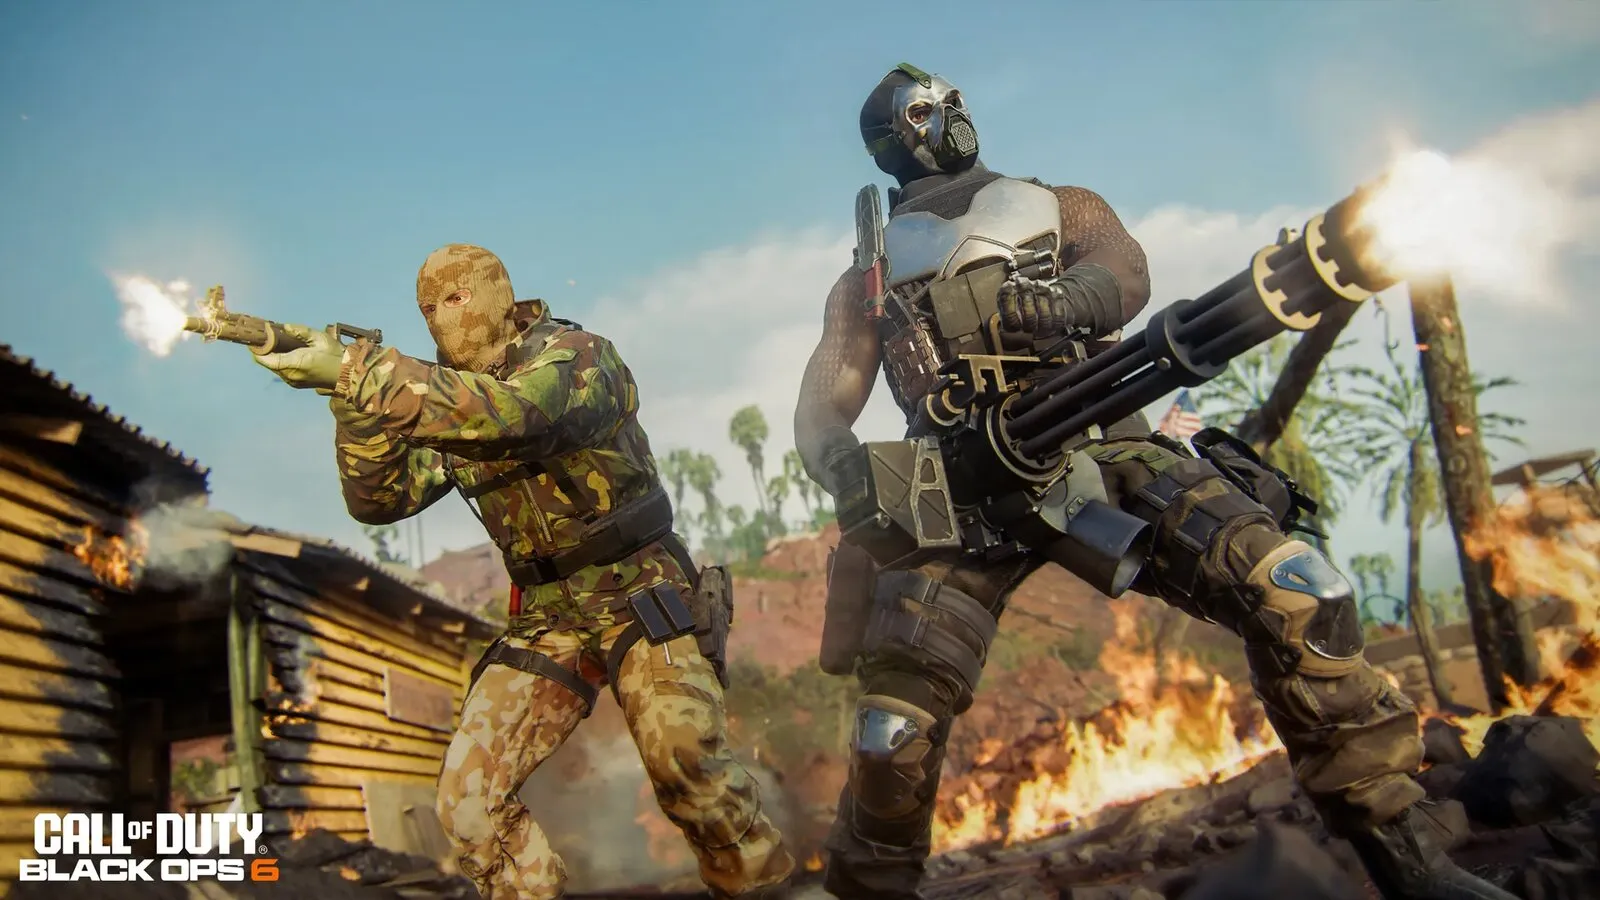
Omnimovement does not turn off, but sprint, mantle and crouch assists can be adjusted.
What is Intelligent Movement?
Omnimovement cannot be disabled in any mode, but Intelligent Movement automates some actions, and you can set them yourself:
- Sprint assist can start your sprint for you (a tactical sprint assist is one of the options).
- Mantle assist lets you climb low fences and scenery automatically.
- Crouch assist automates crouching.
- Corner slice is listed as a further option in some guides. No official description turned up, so test what it does in a private match.
Guides do not agree on which to switch off. Beginners usually do well with the assists on, then switch off the ones that move you when you do not want to move. Practise in the Training Course, where you can test sliding, diving and mantling without pressure.
Field of view and weapon view
In Graphics, on the View tab, you can raise the field of view for a wider picture. The Weapon Field of View option set to Wide shrinks your weapon on screen so it blocks less. A higher field of view costs a little performance on weaker PCs, see the system requirements page if you are close to the minimum.
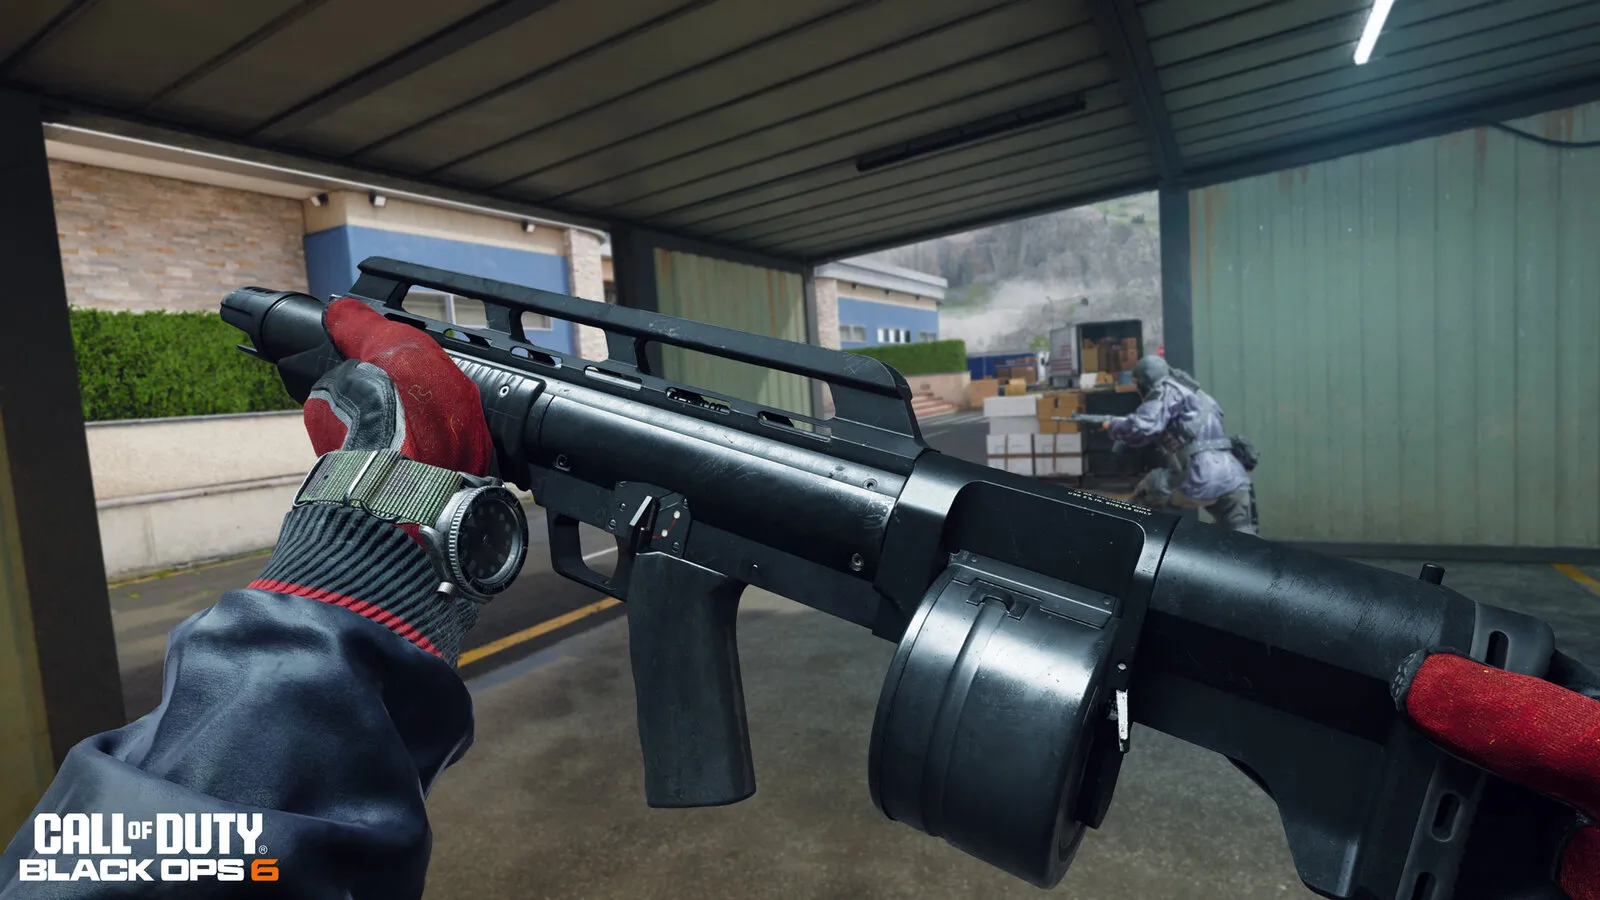
A wider weapon field of view makes the weapon smaller on screen.
Quick checklist
- Aim response curve: Dynamic.
- Target aim assist and ADS aim assist on if you play on a controller. Many guides also turn motion sensor behaviour off.
- Trigger deadzone minimums at 0, stick minimums only as high as drift requires.
- Sensitivity: start in the middle, change one value at a time.
- Test every change in a private match against bots, then give it a few matches before you judge it.