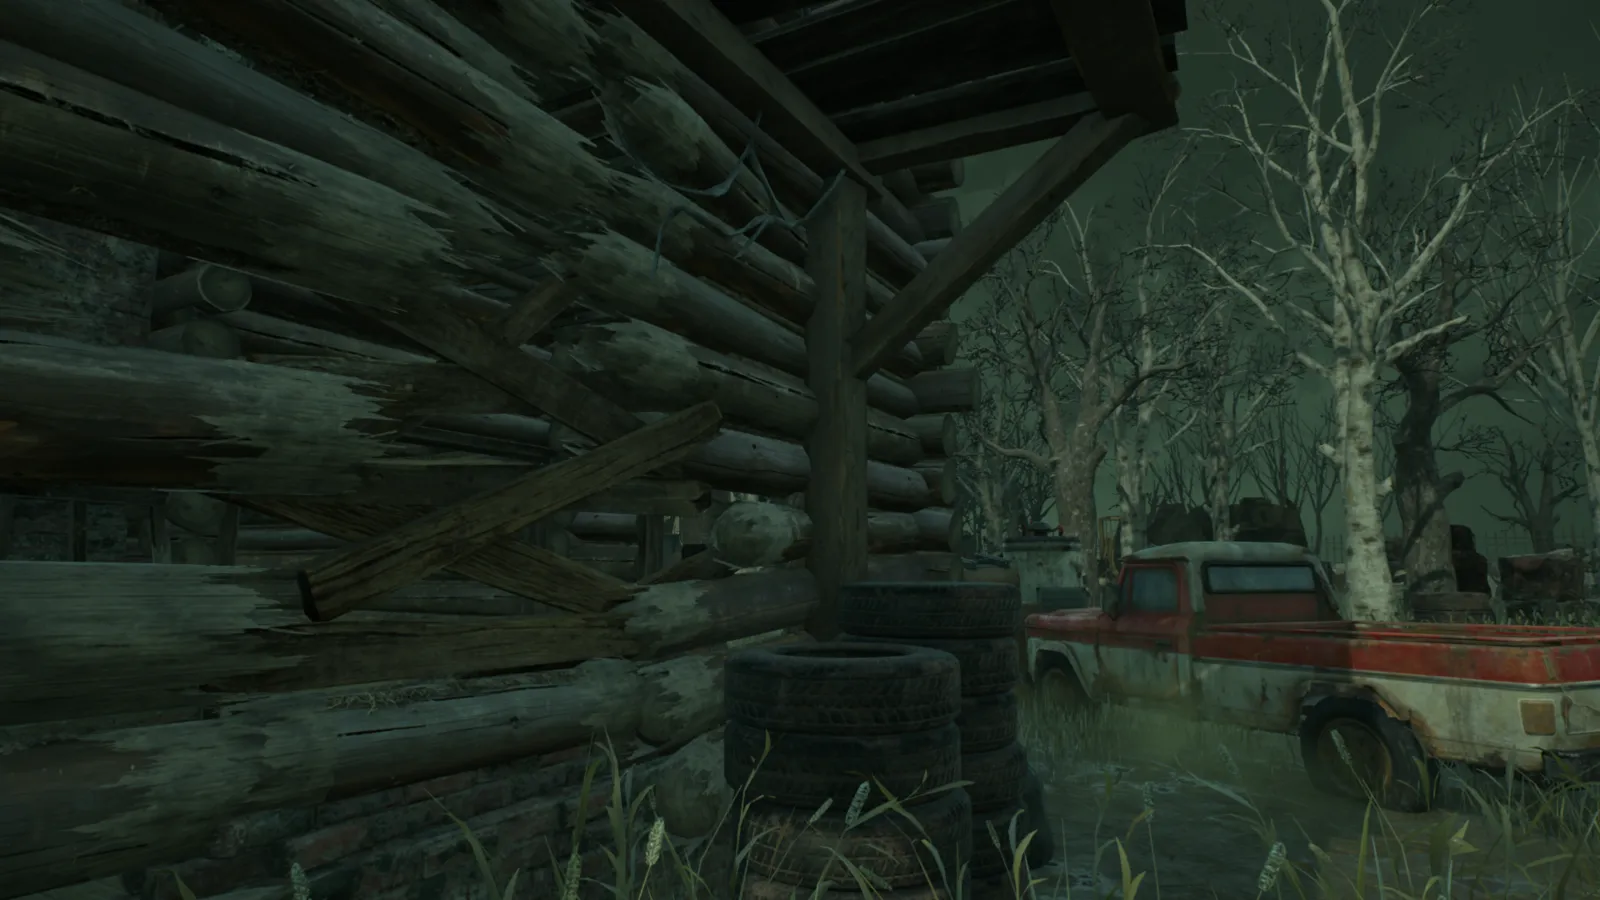
A totem is a cleansable object on the map, the Obsession is the survivor the killer is tied to, the hatch is the escape for the last survivor, and status effects like Exposed, Broken and Endurance change how hits and healing work. Definitions below match the community wiki for patch 10.2.2b (November 2026).
Totems
There are 5 totems in every trial. They come in three kinds:
- Dull Totem: the default. It does nothing until a perk uses it.
- Hex Totem: a totem cursed by a Hex perk, such as Hex: Ruin. The Hex effect lasts until the totem is cleansed or blessed.
- Boon Totem: a totem blessed by a survivor, which gives the whole team a boon effect.
Cleansing a totem takes 14 seconds, and progress resets if you stop. Blessing takes 14 seconds on a Dull Totem and 28 seconds on a Hex Totem. Killers snuff a Boon Totem in 1 second. Cleansing a Hex Totem early is often a good use of a spare survivor.
The Obsession
At the start of every trial the Entity picks one random survivor as the killer's Obsession, even if nobody uses an Obsession perk. With four survivors each has a 25% chance. Some perks raise or lower that chance by 100% of the base chance. There is only one Obsession at a time, and certain perks, such as Friends 'til the End and Nemesis, can transfer it.
The hatch
The hatch is invisible until exactly one survivor remains. It then opens automatically. The killer can close it, which starts the Endgame Collapse. The last survivor can open a closed hatch with a Skeleton Key or Dull Key in 2.5 seconds. The old rule where the hatch could appear after a number of generators were done was removed in patch 5.3.0.
Common status effects
| Effect | What it does |
|---|---|
| Exposed | Killer basic attacks deal double damage, taking a survivor from Healthy straight to Dying. It does not reveal auras. Endurance turns it into Deep Wound. |
| Hindered | Reduced movement speed. |
| Haste | Increased movement speed. Lithe and Sprint Burst give +50% Haste. |
| Endurance | You resist one killer hit until you do a conspicuous action. |
| Broken | You cannot heal beyond the Injured state. |
| Mangled | Healing from Injured to full takes 25% longer. |
| Haemorrhage | Partial healing progress drains at 7% per second. |
| Deep Wound | A timer bar. If it empties you drop to Dying. Mending it takes 10 seconds alone or 6 seconds from a teammate. |
| Exhausted | You cannot use another exhaustion perk. It recovers while you do not run, and instantly after an unhook. |
| Oblivious | You cannot perceive the Terror Radius or the heartbeat. |
| Blindness | You cannot read auras. |
| Incapacitated | You cannot interact with certain objects. |
| Undetectable | The killer's Terror Radius and Red Stain are suppressed. |
Right after an unhook you get 10 seconds of Haste, Endurance and Elusive.
Terror Radius and chase
The Terror Radius is the area around the killer where survivors hear the heartbeat. It is 32 meters by default, 24 meters for 110% speed killers and 40 meters for the Hillbilly. A chase starts when a survivor is within 12 meters in the killer's field of view and running while the killer is walking, and ends if the distance exceeds 18 meters, you hide in a locker for 5 seconds or the killer loses sight for more than 8 seconds.
Quick tips
- If you hear no heartbeat, the killer might be a stealth killer or using Undetectable.
- If a generator keeps regressing faster than it should, look for a Hex Totem.
- A Broken survivor cannot heal past Injured, so do not waste time trying to heal them to full.
- Keep an eye on the Exposed status; it turns one hit into a down.
- If the game lags, see our Dead by Daylight FPS guide.