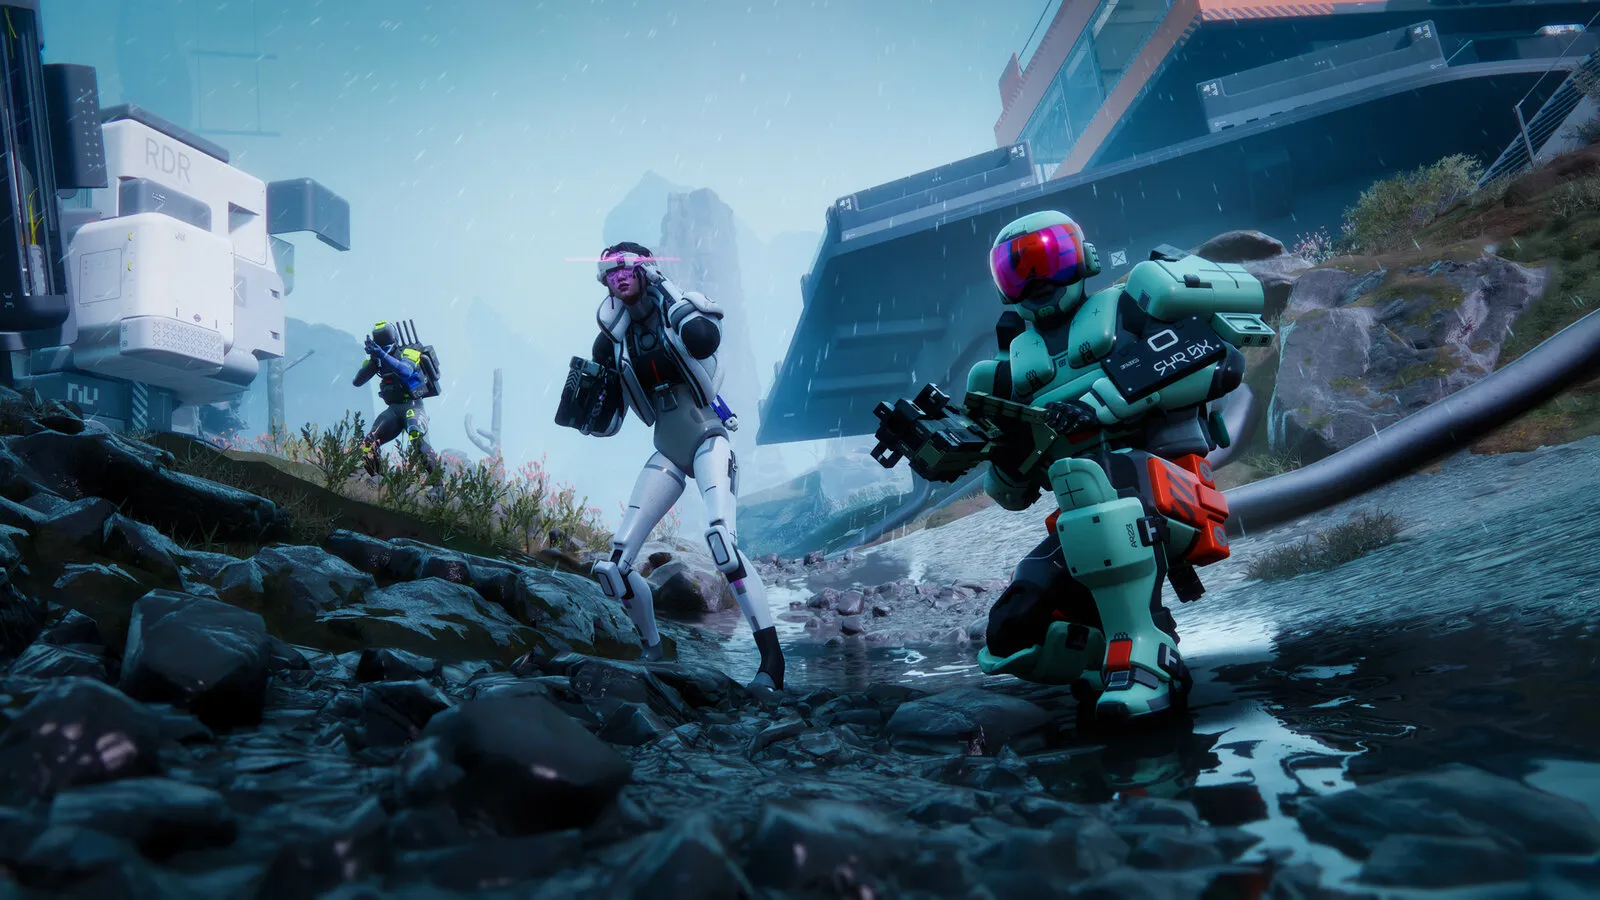
Updated for the Nightfall Refresh (update 1.1.9.x, live since 6 October 2026), written 10 November 2026. That update reset progression, so numbers from earlier in the year may be out of date. Where a value could not be confirmed we say so; the in-game screen always wins.
Marathon is a squad-based extraction shooter: you drop into a zone with a loadout, loot, fight robots and other players, and walk out through an exfil to keep everything you carry. If you die first, you lose what you brought in and what you picked up. Your first ten runs are about learning, not profit, so go in cheap, pick a contract, find an exit early and leave.
How a run works
- Prepare in the menu. Choose a shell (see the shell guide), a loadout and one contract. You can carry one active contract into a run.
- Drop in. You land with your crew of up to three. Your first minutes are quiet; use them to get your bearings and loot nearby containers.
- Loot and do your objective. Containers, defeated robots and downed players all hold items. Valuables turn into credits automatically when you extract.
- Extract. Reach an exfil, hold it through the countdown and you bank everything. A raid runs roughly a quarter of an hour to 25 minutes depending on the zone, and a final exfil appears when the match timer ends.
- Back in the menu. Items go to your vault, valuables are sold, and contract progress pays out reputation and XP.
Where to play first
| Zone | Difficulty | Unlock |
|---|---|---|
| Perimeter | Beginner | Open from the start |
| Dire Marsh and Night Marsh | Intermediate | Runner Level 3 (reported) |
| Outpost | Advanced | Around Runner Level 12 to 15; the exact value changed with the reset, so check the zone screen |
| Cryo Archive | Endgame | Level 25 and more, see the Cryo Archive guide |
Stay in Perimeter until you can reach an exit without panicking. There was also a beginner-only Perimeter variant with fewer players for low-level accounts and a set of beginner contracts that only progress there; if you see it in your queue list, use it. The full map breakdown is in the zones guide.
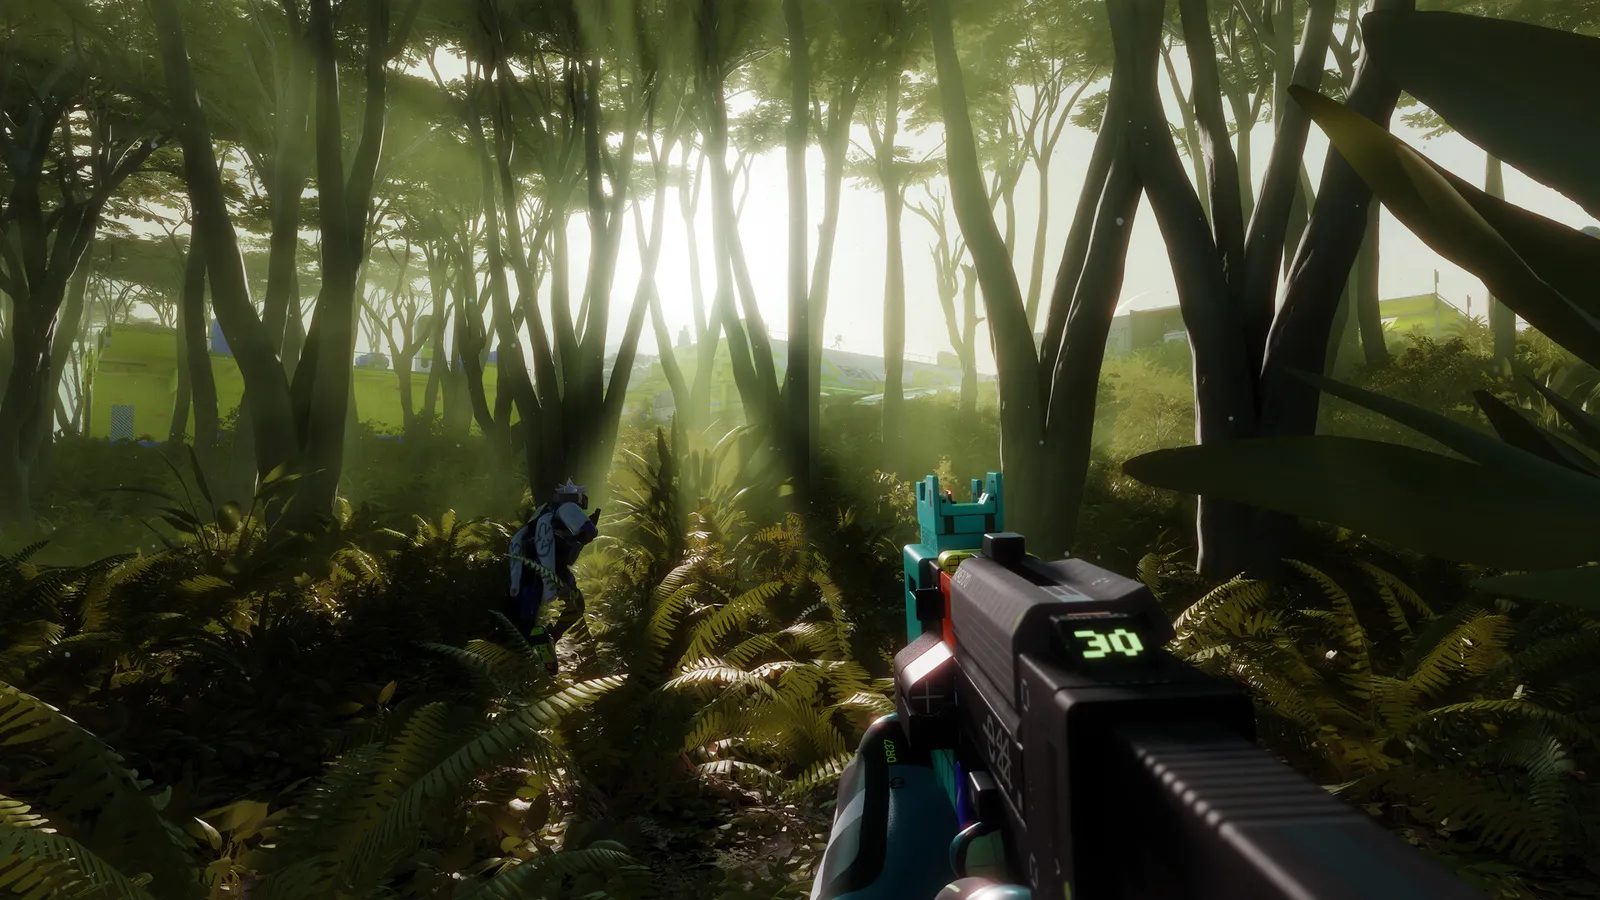
Learn one zone well before you move on.
What to bring
- Free first. The Armory section of the loadout screen offers Sponsored Kits. Free kits are plain, but they cost you nothing to lose. Equipping a kit moves your current gear to the vault, so nothing is destroyed.
- Two weapons, shared ammo if possible. Check the ammo icon so both guns draw from the same pool, or you will run dry on one.
- Heals before extras. Two or three healing items and some shield charges matter more than a fancy gun. Keep one bag slot open for loot.
- Drop what you will not use. Ammo crates that come with a kit eat space; drop them right away.
Rook, the free scavenger runner, is a risk-free way to learn the maps. It joins matches already in progress, so you arrive late to the best loot, but you lose nothing if you die. More in the solo and Rook guide.
The first two minutes of a raid
- Do not sprint into the middle of the map. Move along the edges, ravines or cover.
- Open the map, locate your objective and note where exfils are likely to appear. Exfil beacons start showing up a few minutes into the match.
- Loot quietly. Gunfire, fast looting of loud objectives and activating terminals all tell other squads where you are.
- Clear robots only when they are in your path. Each fight costs ammo and health and draws attention.
Heat, the meter that gets new players killed
Heat works like stamina. Sprinting, sliding and movement abilities build it, and when it is full you cannot sprint and heat-adding actions are locked until it cools. Crouching and standing in water cool you down faster. Cross open ground when your heat is empty, never at the top of the bar, and never start a sprint that you cannot finish. Heat capacity can be improved through faction and Cradle upgrades (see the progression guide).
Fighting
- Time to kill is short. A full-health runner with shields falls in roughly one second of sustained hits with a good weapon, so the player who shoots first from cover usually wins.
- Take fights at the edge of a corner and back off to heal. See the health and shields guide for the details.
- Use your ears. Footsteps are directional; a good headset is a real advantage.
- A downed player can be revived by a teammate. Clear the area first; reviving in the open often just gets two players killed.
- Knife the weakest robots to save ammo.
Extracting safely
Extraction is the whole game, so it has its own guide. The short version: scout the exit before you activate it, bring your squad inside the zone, and expect company because the beacon is visible and loud to everyone. Do not extract the moment your bag is half full; do extract once the bag is good and your heals are low.
Contracts and progress
Every run should have a contract. Completing the objective and extracting pays faction reputation, XP and sometimes gear. Even extracting without finishing pays something. See the factions guide for which faction to start with.
Common beginner mistakes
- Bringing your best gear to the first few runs of a new zone.
- Queuing without a contract.
- Looting past your objective with a full bag and no heals.
- Selling upgrade materials before your first faction upgrades are done.
- Letting heat run to the top and being caught in the open.
- Fighting every robot and every squad you see.
- Playing a trio without anyone covering information or revives.
A simple plan for your first 10 runs
- Runs 1 to 3: free kit or Rook, Perimeter, one shell. Goal: find an exit and extract.
- Runs 4 to 6: add a contract, learn two exit locations, try your first PvP engagement from cover.
- Runs 7 to 10: buy a cheap upgrade or two, switch to a weapon you like, try one Marsh run with a squad.
Frequently asked questions
What happens when I die?
You lose the loadout you took in and anything you picked up. Free kits and cheap loadouts make this painless.
Can I play alone?
Yes. Queue solo with no crew fill or use Rook. See the solo guide.
Does it run on my PC?
See the Marathon page for requirements and the FPS boost page for smoother matches.