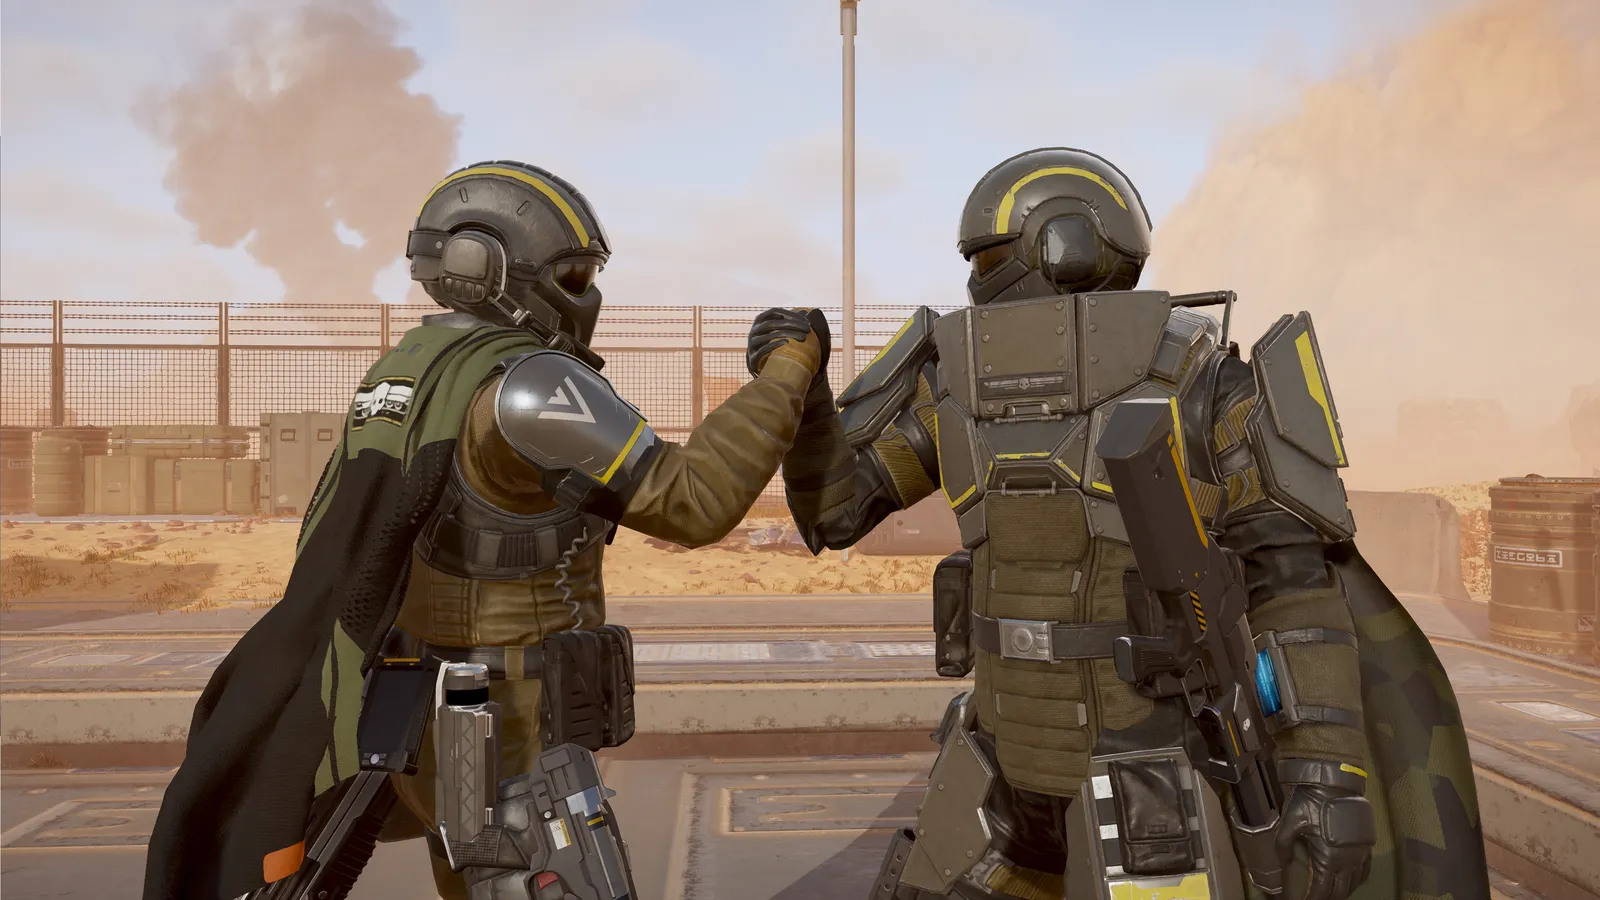
Pick the armor passive that matches the threat (Electrical Conduit against arc, Inflammable against fire, Engineering Kit for extra grenades, Democracy Protects for survival) and one booster that suits your squad. Boosters are unlocked inside warbonds with Medals, armor comes from warbonds too. Numbers current for patch 7.2.3, November 2026.
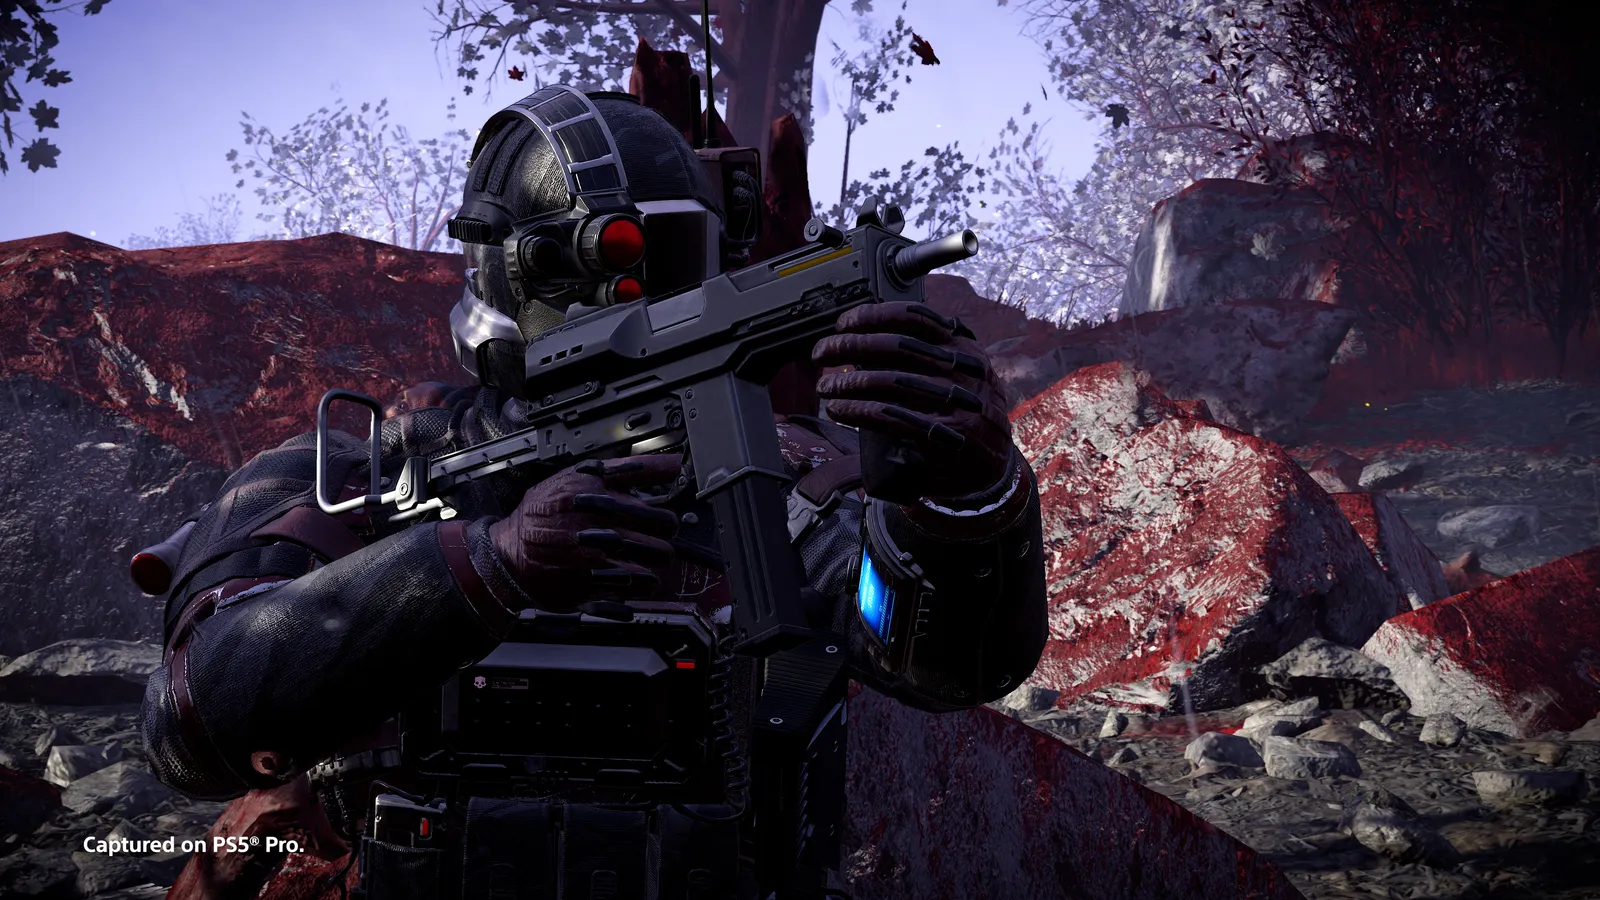
Your armor passive shapes how you survive a dive.
How armor and passives work
Every armor set carries one passive, so choosing armor is choosing a passive. The wiki lists 32 passives. The same passive appears on many sets, so look at the passive first and the looks second. Armor sets come from warbonds, and the free Helldivers Mobilize! warbond contains many of them.
Defensive passives
- Democracy Protects: 50% chance to survive lethal damage.
- Ballistic Padding: 25% chest damage resistance.
- Fortified: 50% explosive resistance and 30% less recoil when crouched or prone.
- Blunt-Force Mitigation: resists being knocked prone, 30% less impact damage and a higher armor rating.
- Adreno-Defibrillator: a one-time short resuscitation, +2 seconds stim duration and 50% arc resistance.
Elemental resistance passives
- Electrical Conduit: 95% arc resistance. This survives the Harvester's close-range arc attack.
- Inflammable: 75% fire resistance.
- Advanced Filtration: 80% gas resistance.
- Acclimated: 50% resistance to fire, gas, acid and arc.
- Desert Stormer: 40% resistance to fire, gas, acid and arc, plus 20% throw range.
- Kinetic Displacement Mitigation: 50% fire resistance and a 50% chance to avoid limb injury.
Utility passives
- Engineering Kit: +2 throwables.
- Med-Kit: +2 stims and +2 seconds stim duration.
- Siege-Ready: +30% primary reload speed and +20% ammo capacity.
- Reinforced Epaulettes: +30% primary reload speed.
- True Grit: +30% support weapon reload speed.
- Servo-Assisted: +30% throw range and +50% limb health.
- Rock Solid: +40% melee damage and resistance to being knocked prone.
- Reduced Signature: 50% less movement noise and 40% lower detection.
- Stationary Shroud: 35% less sway, plus reduced detection while still and crouched.
- Feet First: immunity to leg injuries.
- Oxygenator: faster running and sliding.
For a first pick, Engineering Kit is easy to justify if your loadout relies on grenades, while Democracy Protects is a simple safety net. If you take Electrical Conduit, remember it is a response to a specific enemy and weak elsewhere.
Boosters
Boosters are squad-wide perks unlocked inside warbonds. The wiki lists 20, and a squad can run up to four unique boosters per mission. The ones you will see most are below; others, such as UAV Recon, Stamina Enhancement and Muscle Enhancement, come from the free warbond.
| Booster | Effect |
|---|---|
| Hellpod Space Optimization | Start with full ammo, grenades and stims |
| Vitality Enhancement | Minor damage reduction |
| Increased Reinforcement Budget | +1 reinforcement ticket per player |
| Flexible Reinforcement Budget | Tickets regenerate faster (1:30 instead of 2:00) |
| Localization Confusion | Longer gap between enemy encounters |
| Expert Extraction Pilot | Faster extraction shuttle |
| Experimental Infusion | Stims give speed and damage reduction |
| Sample Scanner | 15% chance to double samples on pickup |
| Sample Extricator | Large enemies can drop samples (up to 10 per mission) |
| Surplus EAT Allocation | Two free EATs per mission (Ironclad Democracy) |
The reinforcement boosters help squads that lose people often, and the sample boosters help when you farm for ship upgrades.
Weapon customization
Primary weapon attachments, such as magazines, and pattern customization are bought with Requisition slips. The 7.0.0 update also added short magazines for many primaries, along with more spare and starting magazines.
Quick tips
- Choose your passive after you choose your faction. Fire, gas and arc are heavily enemy-dependent.
- Do not stack the same booster across the squad, since only unique ones count.
- Check in-game details before you spend Medals. Some wiki pages disagree on per-item Medal costs.
- Stay under the 250 Medal cap by spending on boosters you will use.
- See the Helldivers 2 page for performance settings if your frame rate drops in big fights.