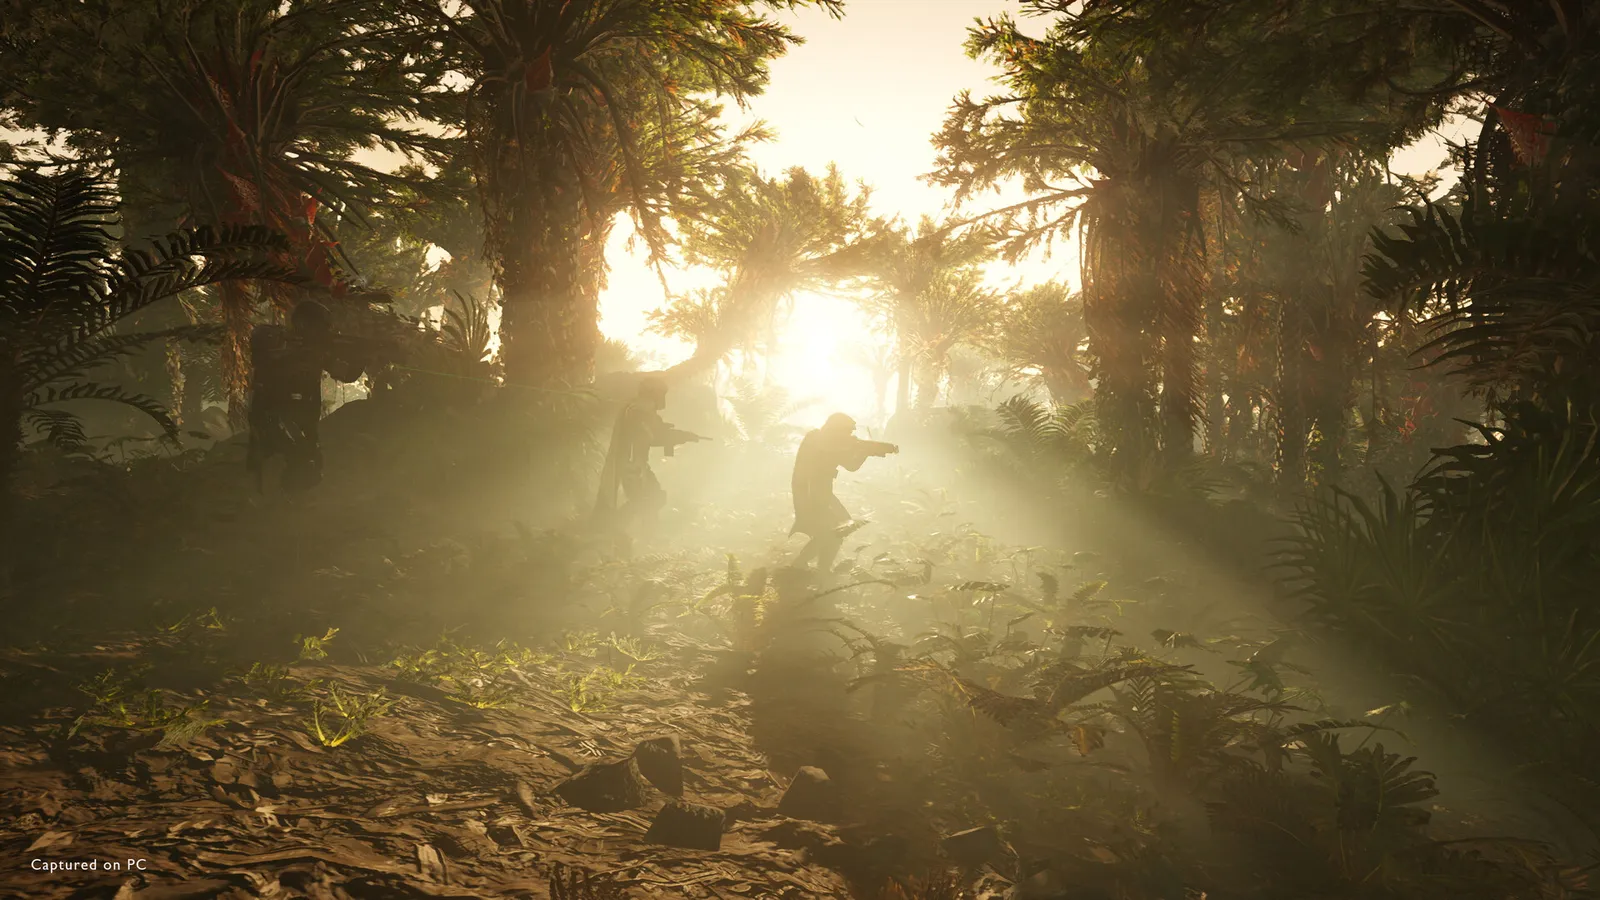
Start on a low difficulty, learn the stratagem inputs, never fire across a teammate and always carry your samples onto the extraction shuttle. Helldivers 2 is a squad game where almost everything, including your own reinforcement pod, can hurt your friends. Updated for the Devoid of Liberty cycle (patch 7.2.3), November 2026.
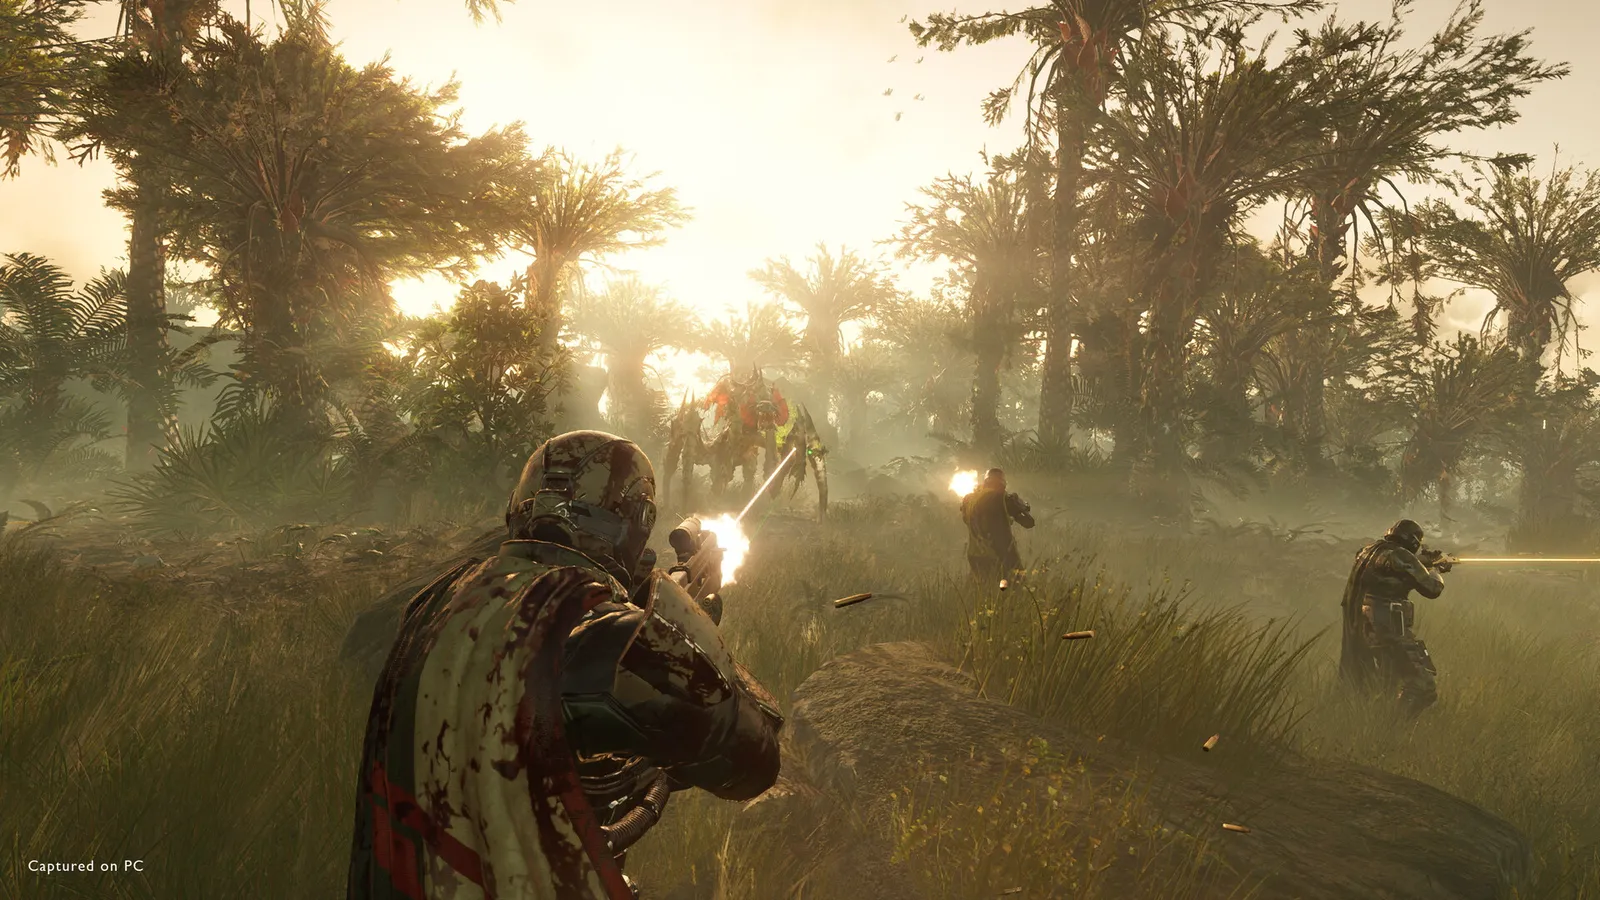
A squad pushing through a mission on a jungle planet.
How a mission works
You pick a planet on the Galactic War map, choose a difficulty and play an operation made of several missions. Each mission has a main objective you must finish, plus optional objectives and side points of interest. Finish the main objective, collect what you can, then call extraction and get everyone on the shuttle. Impact on the war only comes from completing the main objective, so abandoning a mission halfway helps nobody.
New players begin with 1,000 Requisition slips after basic training. Slips are the currency you spend in the Ship Management Terminal to unlock stratagems. The cap is 50,000, and anything above that is lost, so spend them regularly.
The ten difficulty levels
Difficulty runs from 1 to 10. Higher levels give a bonus to XP and Requisition slips and bring heavier enemies and bigger outposts.
| Level | Name | XP and slip bonus | Notes |
|---|---|---|---|
| 1 | Trivial | +0% | One main objective, no optional objectives or outposts |
| 2 | Easy | +0% | Optional objectives and outposts appear |
| 3 | Medium | +25% | |
| 4 | Challenging | +50% | Rare samples appear, heavy outposts |
| 5 | Hard | +75% | |
| 6 | Extreme | +100% | Super samples appear |
| 7 | Suicide Mission | +150% | |
| 8 | Impossible | +200% | |
| 9 | Helldive | +250% | |
| 10 | Super Helldive | +300% | Giant outposts |
Higher difficulties unlock by finishing missions on the level below. A comfortable first target is Medium or Challenging; moving up once you can finish missions without wiping the squad is better than jumping to Helldive and spending the whole mission in a reinforcement pod. The player level cap is now 300, raised from 150 in the 7.0.0 update, so there is plenty of room to grow.
Always-available stratagems
Stratagems are called in by entering a directional code. These five are on every mission and never need unlocking:
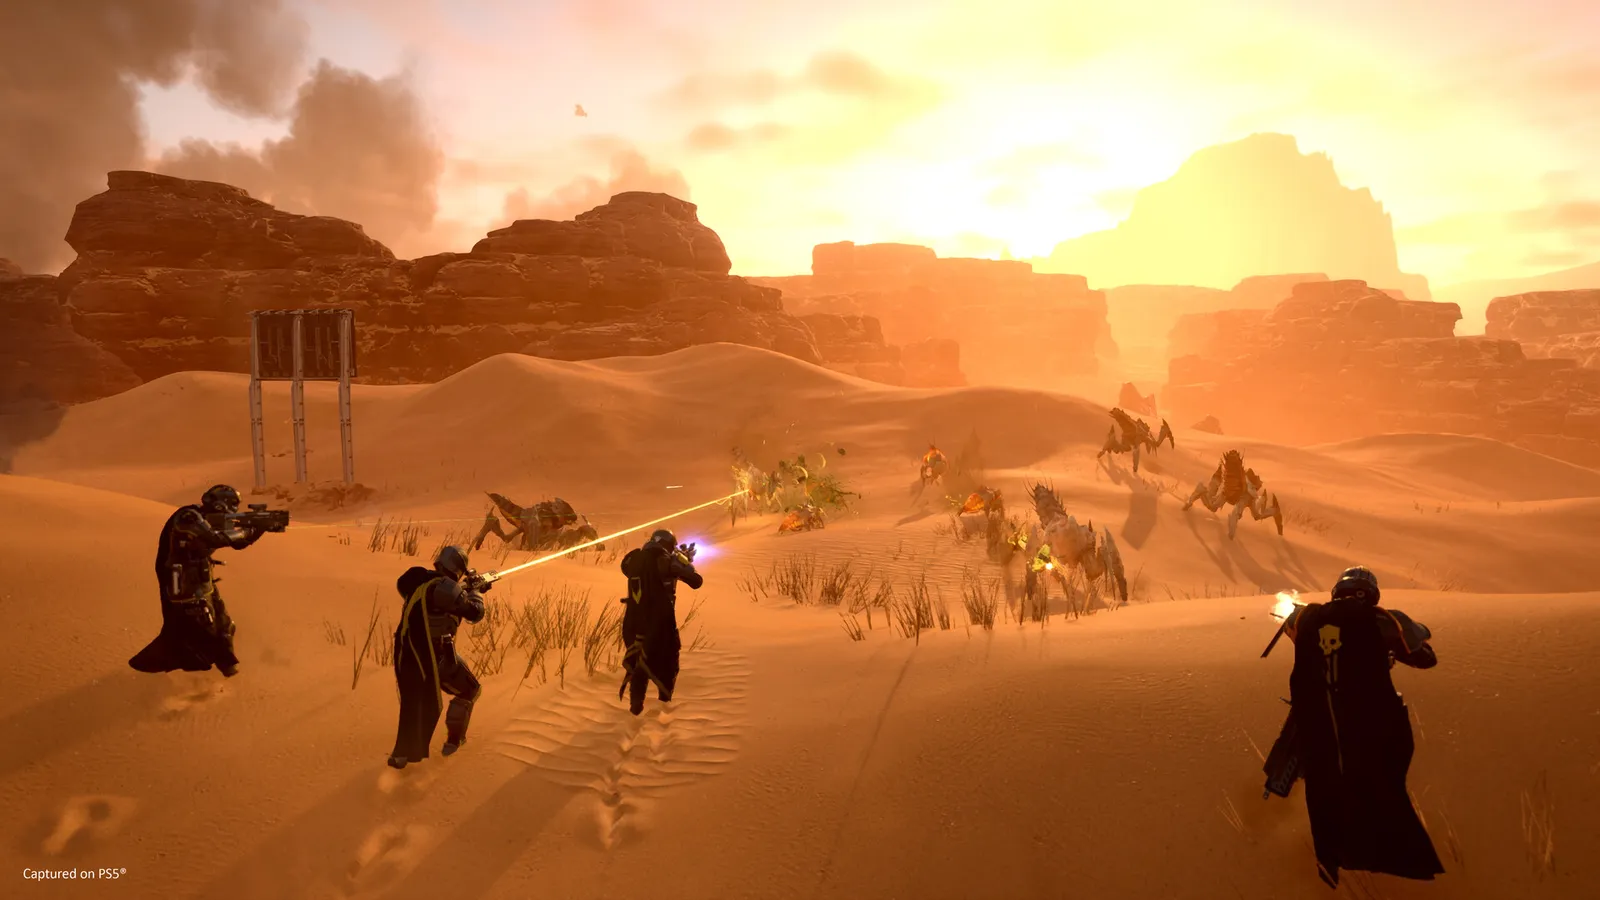
Desert planets are open, so bring something for long-range threats.
- Reinforce: up, down, right, left, up
- Resupply: down, down, up, right (180 second cooldown)
- SoS Beacon: up, down, right, up
- Eagle Rearm: up, up, left, up, right
- Call In Super Destroyer: up, up, down, down, left, right, left, right
Reinforcements
Each player has 5 reinforcement tickets, so a full squad of four starts with 20. The Increased Reinforcement Budget booster adds one ticket per player. A few rules catch beginners out:
- Reinforce only works once a squadmate has died and tickets remain. You cannot revive yourself, and the stratagem does not work in a solo dive.
- Stratagem jammers and ion storms disable it.
- When tickets run out, one regenerates every 2 minutes (1 minute 30 seconds with the Flexible Reinforcement Budget booster).
- You can steer the reinforcement pod, but it crushes enemies and allies alike. Do not land on a teammate.
If the whole squad dies with no tickets left and the main objective is not complete, the mission and the operation fail. If the main objective was already done, the mission still counts as a success.
Friendly fire
All munitions can hurt squadmates, including stratagem beacons and reinforcement pods. Before you throw a beacon, check where your friends are standing. Call explosive stratagems at a distance, and warn the squad in voice or chat when you are about to bring one down on a position they might run through.
Samples and why you must extract
There are three sample types, found on the map and shared across the team:
- Common (green): available on every difficulty, cap 500.
- Rare (orange): from Challenging upward, cap 250.
- Super (pink): from Extreme upward, cap 100.
Samples only count if the Helldiver carrying them boards the extraction shuttle, and a dead Helldiver cannot carry samples. If you hold a lot, play safe near the end.
First ship upgrades to buy
Ship modules are upgraded with samples, and the bigger ones also cost Requisition slips. There are 30 modules across six ship sections. Cheap, useful early picks:
- Donation Access License (Patriotic Administration Center, 60 Common samples): support weapons arrive with maximum magazines.
- Liquid-Ventilated Cockpit (Hangar, 80 Common): Eagle cooldown reduced by 50%.
- Targeting Software Upgrade (Bridge, 60 Common): orbital call-in time reduced by 1 second.
- Synthetic Supplementation (Engineering Bay, 60 Common and 10 Rare): sentry, emplacement and resupply cooldowns reduced by 10%.
- Dynamic Tracking (Robotics Workshop, 60 Common and 20 Rare): sentries launch immediately.
Quick tips
- Learn the five default stratagem codes by heart before you need them under fire.
- Watch the Personal Order each day: they rotate every 24 hours and pay 15 Medals.
- Stay near your squad. Enemy spawning is now based on pressure around each player, so splitting up no longer reliably avoids patrols.
- Spend Requisition slips rather than sitting on the cap.
- Check your own performance if the game stutters on older hardware with our Helldivers 2 FPS guide.