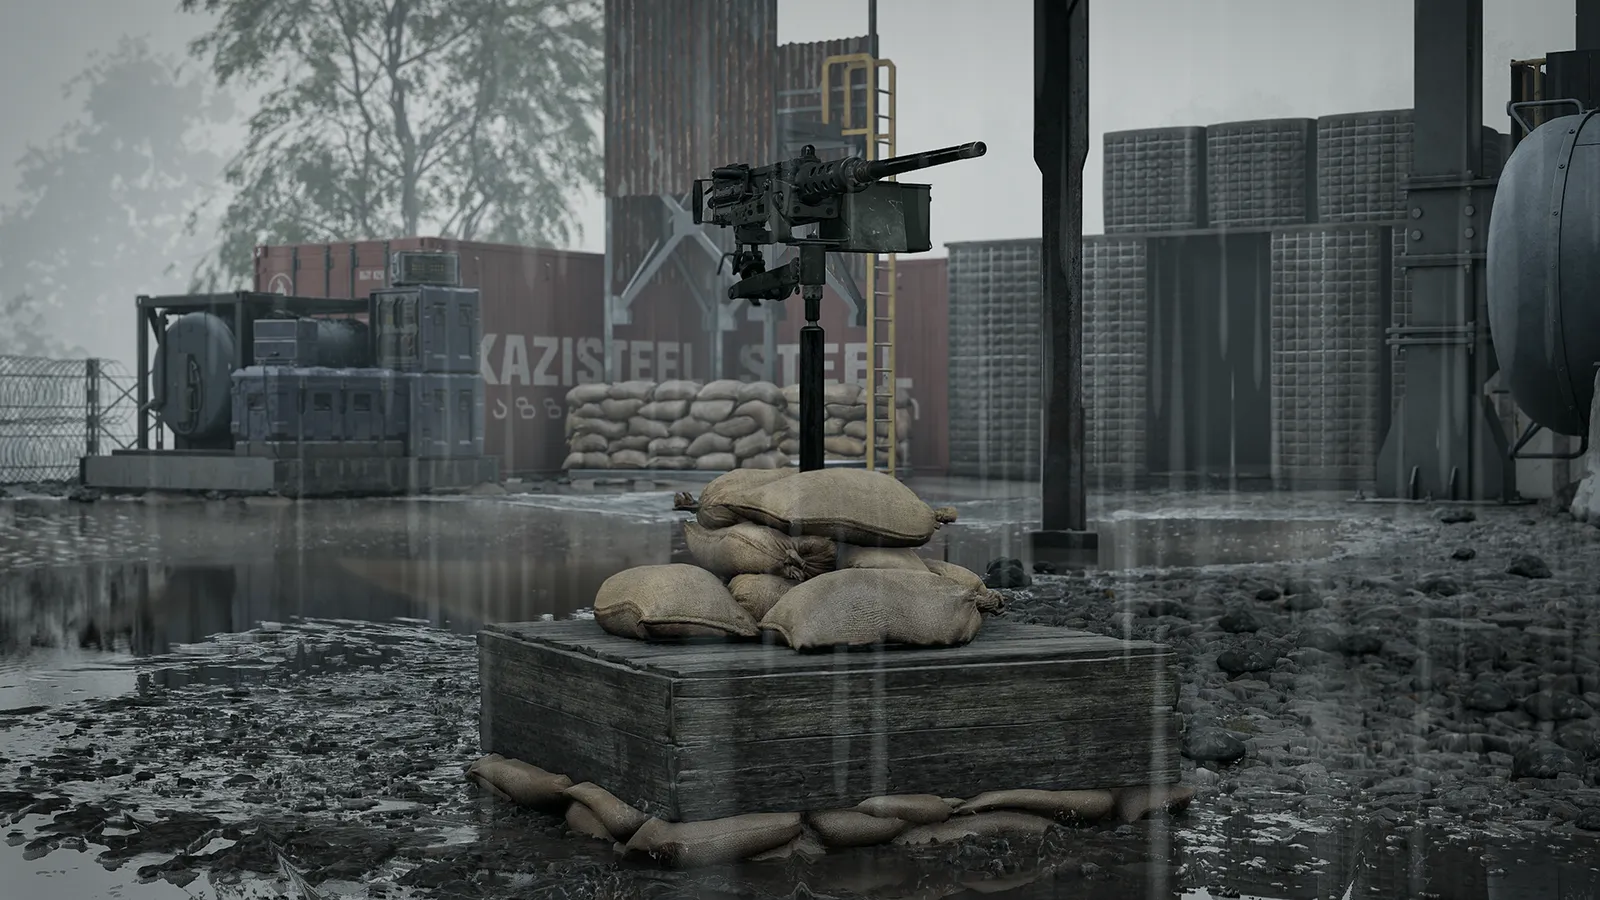
A FOB (forward operating base) in WARDOGS is a build area with a shared supply store. You place it from a kit, fill it with Build Supplies, and then build walls, towers and weapon positions with a hammer. It is not a respawn point, and that surprises many new players. Updated for Season 3 (12 November 2026): the Large Hammer unlocks later, destroyed emplacements pay double, crates behave differently and walls can be destroyed by tanks. Values the Season 3 notes do not mention are Season 2 values.
What a FOB gives you
- A build area. Structures that need a FOB must be placed inside its team-coloured square on the minimap.
- A shared supply store for four kinds of supplies.
- A place to hack or defend. Enemies can hack a FOB to take its emplacements, or destroy it for a bonus.
- It does not give your team a spawn. Forward spawns come from the Spawn Vehicle (the armoured carrier) that appears at the main base once a team reaches 20 points.
A FOB kit costs $7,500 (Season 2 value, not restated in the Season 3 notes; early guides that say $2,500 are out of date). It does not need an unlock level. For that reason a lone beginner should usually build with a squad rather than buy a kit alone.
Before you start: practise for free
The Firing Range lets you place a FOB and build with free supplies. Spend ten minutes there learning the menu, snapping and dismantling.
Step by step: placing a FOB
- Buy the FOB kit at the vendor and put it in a quick slot.
- Choose ground that has more than one approach, some cover and good sight lines. Do not put it in the open on the main road.
- Stay out of buildings, the main base and the circle of another FOB. The game does not publish an exact distance.
- Deploy it. The starting FOB comes with a stock of supplies and a hammer.
- Move your first Build Supplies in at once (see delivery below).
You do not need to be inside the Control Zone, but deliveries only pay when you are. Most squads put a FOB close to the zone edge so logistics runs pay.
The four supply types
| Supply | What it is for |
|---|---|
| --- | --- |
| Build | Structures and repairs |
| Ammo | Mortar, Talon SAM, CIWS and MG nest |
| Fuel | Refuel Station and the Drill Rig |
| Mechanical | Repair Station and Stingray drone strikes |
A new FOB wants Build Supplies first. Unit price is about $10 and a stack of 50 about $500 (earlier-season vendor values). A full FOB store holds about 20,000 of each type according to community testing.
Hammers
| Hammer | Cost | Unlock | What it builds |
|---|---|---|---|
| --- | --- | --- | --- |
| Small | about $100 | none | Sandbags, barbed wire, hedgehogs, Recon Tent. Works without a FOB. |
| Medium | $25,000 unlock | Support level 3 | HESCO blocks, doors, gates, loudspeakers, Large Shelter |
| Large | $75,000 unlock, $2,400 at the vendor (Season 2 values) | Support level 14 (was 8 in Season 2) | Bunkers, Recon Tower, mortar, Stingray, Talon, CIWS, MG nest, Repair and Refuel Stations, Drill Rig |
Season 3 moved the Large Hammer from Support level 8 to level 14, because it was a power spike that made huge bases too easy to set up early in the season. Until the building unlock system is reworked, expect fewer mega-bases in the first days. Any hammer can finish a blueprint someone else has started. The starter needs the right tier, so one player with a large hammer can lay out a base and the whole squad can finish it. Hit the yellow markers on a blueprint: swings elsewhere add much less. Season 2 reduced the medium hammer's progress per swing, and only the Halligan bar can breach doors now.
What a structure costs
| Structure | Build Supplies |
|---|---|
| --- | --- |
| Barbed wire / Recon Tent | about 7 |
| Sandbag wall / small HESCO | about 15 |
| Large HESCO | about 22 |
| Bremmer wall | 32 |
| Door | 80 |
| Gate | 200 |
| Shelter / bunker / crow's nest | 200 |
| Large Shelter | 250 |
| Recon Tower | about 200 |
| Mortar (L81) | 600 |
| Stingray launcher | 650 |
| MG nest | 650 |
| Talon 9K-SAM | 650 |
| Vanguard CIWS | 1,200 |
| Drill Rig (Hot Zone Magnet) | 2,750 |
The first group of low numbers comes from a single source; the rest are official Season 2 notes values that Season 3 does not restate. Unfinished structures collapse if they lose a support, and Season 3 fixed floating pieces after their supports were destroyed. Barbed wire kills no longer pay cash or XP.
Season 3 also made stone walls destructible by tanks and artillery, and the MG Nest can be repaired again. Destroying an enemy buildable now pays double: the L81 Mortar, Talon 9K-SAM, MG Nest and Stingray give $1,300 (was $650) and the Vanguard CIWS $2,400 (was $1,200).
Delivering supplies
- Backpack: slowest. Buy at the main base, carry it, then choose "Unload Supplies Into FOB".
- Crates: small and large crates fit in vehicles and helicopters. Season 3 stops crates being deployed inside safe zones, lowers the safe drop height to about 35 m for crates and armoured crates and about 40 m for pallets, and pays less for low-value crates (the reward scales with the price of the items inside). Pallets deployed outside a friendly FOB give reduced rewards.
- Pallets: a pallet holds about 1,800 supplies of one type. Drive into the FOB square, drop it, then hold F to move the contents into the store.
- Vehicles: a Ural truck carries two pallets; a Z20 Lakota helicopter carries one. Pallet carrying capacity is a community figure.
Cargo left beside the FOB without a transfer adds nothing. Only deliveries inside the Control Zone pay.
A defence layout that holds
- Put the FOB console and the Spawn Vehicle's approach behind the strongest cover.
- Build from the inside out: a ring of HESCO or sandbags, then barbed wire further out.
- Keep one controlled entrance with a gate for trucks. A fully sealed base cannot be resupplied.
- Place expensive pieces last. A mortar or Recon Tower in an undefended base is a gift.
- Leave a gap around mortar and Stingray pits, because tall walls clip shells.
- Test CIWS and Talon arcs from the gunner seat.
- Build barbed wire on top of walls to stop climbers.
Two or three FOBs is typical, and a FOB works best as a base for a squad that follows the Hot Zone, not as a place to camp.
Drill Rig and the Hot Zone
A fuelled Drill Rig on your FOB can pull the Hot Zone toward your base. In Season 2 it needed 1,500 to 2,000 fuel to start, ran for a limited time (maximum around 300 seconds) and took a long cooldown if destroyed (Season 3 values not restated). Season 3 adds a reward kickback for depositing fuel into a FOB that activates a drill, to encourage varied supply chains. Hostile drill towers can be captured for $1,500.
Hacking and destruction
Enemies can hack a FOB (the hacker gets $2,500, teammates inside $1,000 each) and take over its emplacements. Destroying a FOB pays up to $7,500 more, scaled by what it stores. Do not leave a rich store behind weak walls.
Quick tips
- Build as a team: one driver, one builder and infantry on guard.
- Do not dismantle your own walls under fire.
- A mortar is a commitment. Read the mortar guide before you build one.
- Crowbar for the enemy: a Halligan Bar now forces open enemy supply crates and drops a random item on the ground, so do not leave a rich crate unguarded.
- For the best income while you build, see our money guide.