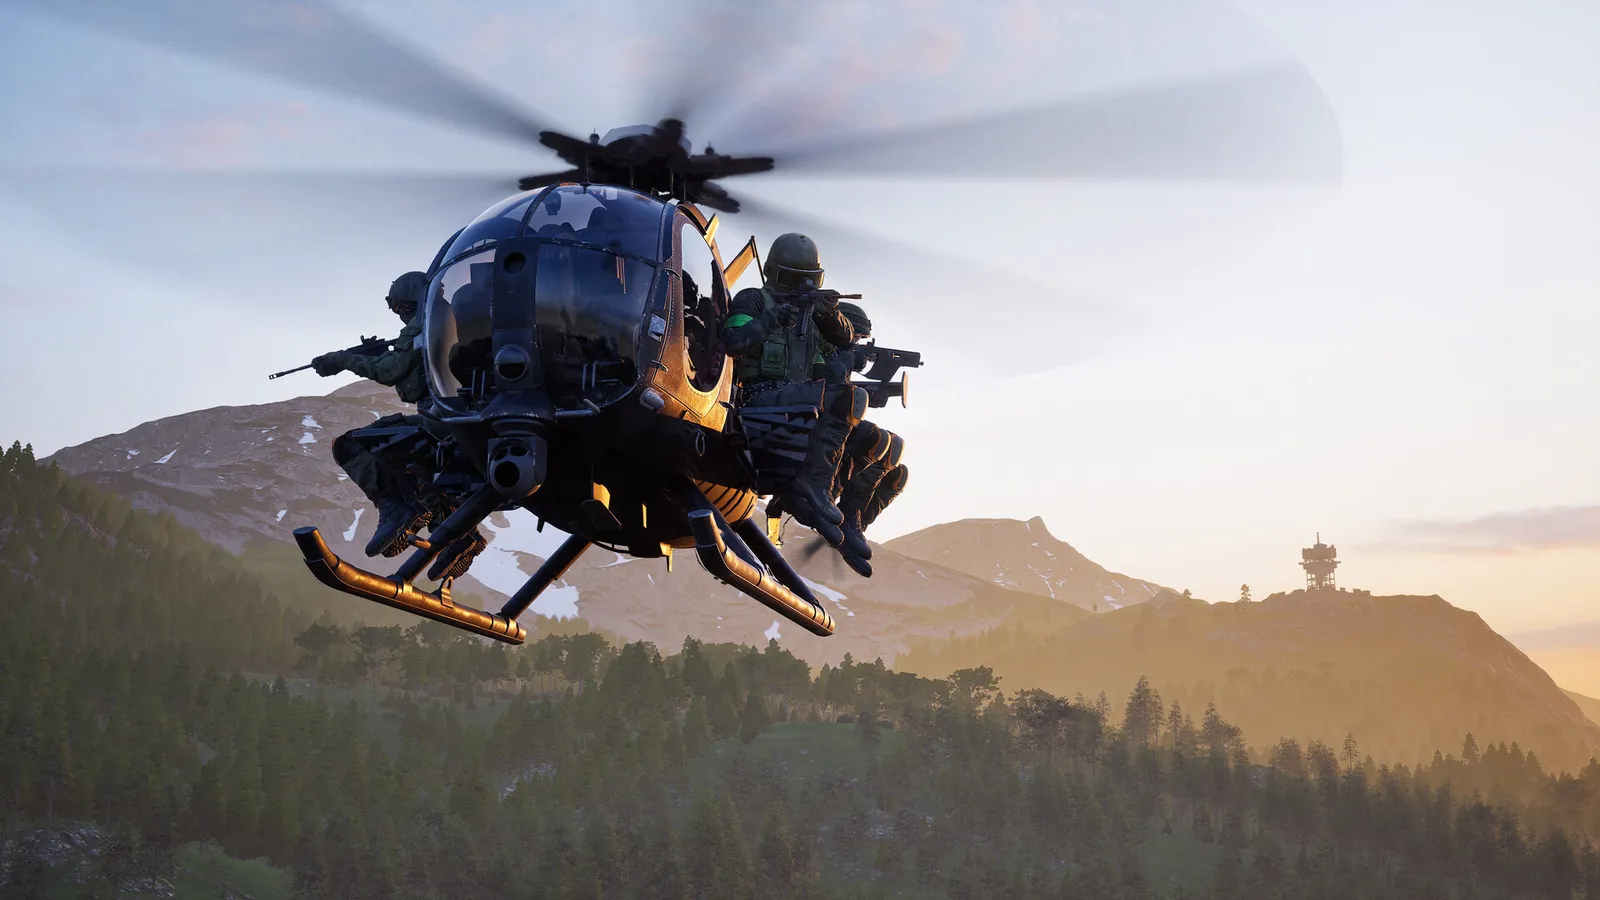
Helicopters are the most expensive way to play WARDOGS, and the easiest to waste. A crashed Little Bird costs you $6,250 (Season 2 value, not restated in the Season 3 notes) and the passengers inside. So the plan is simple: learn at the free Firing Range, fly unarmed transports first, deliver pallets and passengers into the zone, and only then buy a gunship. Updated for Season 3 (12 November 2026): prices of the AH-6M and the Havoc dropped, parachutes cost more, and the rocket Little Bird now fires 70mm rockets.
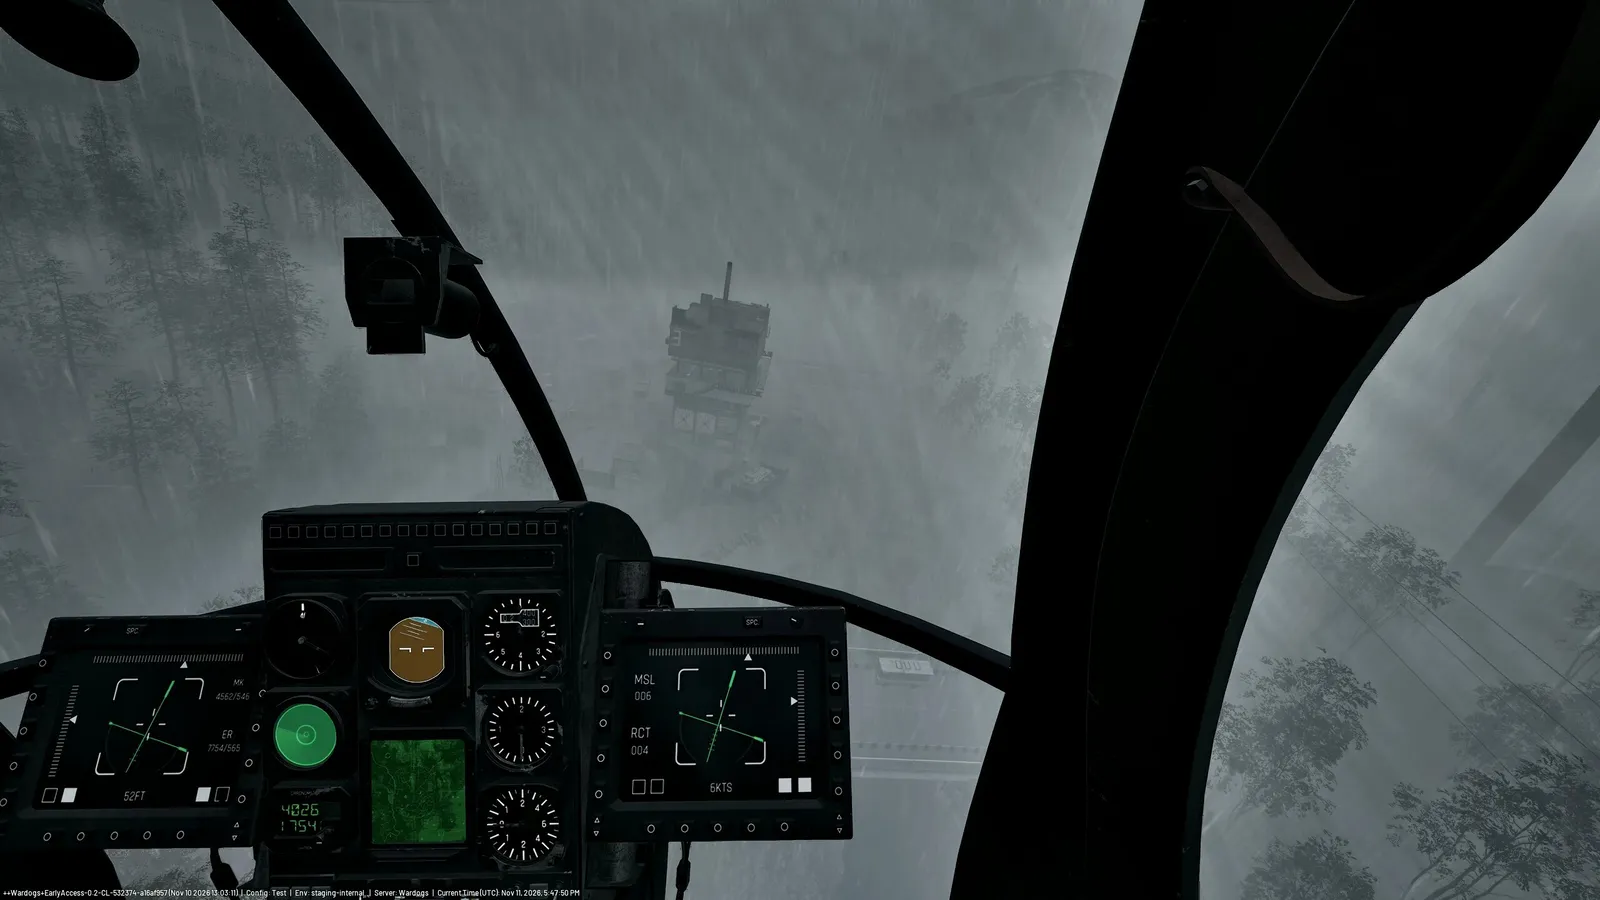
Flying low and slow in bad weather is where most pilots lose an aircraft.
Practise for free first
The Firing Range is reached from the main menu. Walk to the vehicle handler, open the air tab and spawn any helicopter at no cost. You can crash as often as you like, so use it to learn your controls before you spend a dollar. If you get stuck far from the range, press Escape and wait about 30 seconds to be returned.
The fleet and what it costs
Spawn price is what you pay each time you bring the aircraft. Unlock cost is paid once per season. Season 3 changed two spawn prices: the AH-6M Little Bird (miniguns) went from $12,000 to $10,480 and the Havoc from $28,000 to $26,000. The other values are Season 2 values the Season 3 notes do not restate.
| Aircraft | Role | Pilot level | Unlock cost | Spawn price | Source |
|---|---|---|---|---|---|
| --- | --- | --- | --- | --- | --- |
| MH-6 Little Bird | unarmed transport | none | none | $6,250 | Season 2 value |
| AH-6M Little Bird (miniguns) | light attack | 8 | $125,000 | $10,480 (was $12,000) | spawn price: Season 3 |
| Z20 Lakota | unarmed heavy transport | 10 | $35,000 | $7,400 | Season 2 value |
| AH-6R Little Bird (rockets) | attack | 20 | about $200,000 to $250,000 (sources differ) | $18,800 | Season 2 value |
| Z20 Lakota (miniguns) | armed transport | 25 | $85,000 | $15,000 | Season 2 value |
| HAVOC | gunship | 35 | $650,000 | $26,000 (was $28,000) | spawn price: Season 3 |
The bounty on a destroyed aircraft is half the spawn price or less (Season 2 values), so losing a helicopter is a loss for you and a small win for the enemy. Season 3 gives pilots extra reasons to fly: air-vehicle kill streaks for killing enemy players are back, and destroying an enemy vehicle with your own vehicle within 1,000 m of a control zone pays the full control zone reward. The unarmed Little Bird pays $1,250 to the player who downs it, the Lakota $1,500 and the Havoc $14,000 (Season 2 values).
Controls
The developer has not published a control list, so these are the defaults the community reports. Open Settings, then Controls, and check them before you take off.
| Action | Default |
|---|---|
| --- | --- |
| Raise / lower collective (height) | Left Shift / Left Ctrl |
| Pitch forward / back | W / S |
| Roll left / right | A / D |
| Yaw (turn the nose) | Q / E |
| Countermeasures (flares) | V |
| Free look | Alt |
| Next / previous seat | 0 / 9 |
| Lock the vehicle | L |
Some guides describe W and S as collective instead. If your helicopter answers differently from the table, trust your own menu.
Mouse and controller
- The setting Rotary Vehicle Mouse Control is off by default. Turning it on lets the mouse steer the nose, much like aiming a rifle, and many pilots find it far easier than keys alone. Pilots disagree on whether mouse left and right should roll or yaw, so try both.
- There is a separate air-vehicle sensitivity slider. Too low a value makes the aircraft feel shaky at first.
- A controller works well. Triggers raise and lower the collective, the left stick is the cyclic and the right stick handles the pedals and free look.
- The flight assist options (Stability Assist, Envelope Limits and similar) are listed in the controls settings. Keep Stability Assist on while you learn and change one assist at a time once you are comfortable. Community advice on Envelope Limits is split, and the Lakota's stabilisation is reported as a bit over-eager, so start on the Little Bird.
Flying
- Spin up first. Let the rotor reach speed before you pull the collective.
- Lift straight up. Climb to a safe height before you push forward. A steep nose-down start is a common crash.
- Tap, do not hold. Cyclic input is rate-based: holding W keeps tilting the aircraft forward. Tap, then let it settle.
- Turn by banking. Use roll and a little yaw. Yaw alone swings the nose around and bleeds your speed.
- Stay low and behind terrain. Hills, treelines and riverbeds break line of sight. Rotor strikes on trees, wires and buildings can destroy the aircraft (guides disagree on how forgiving treetops are), so keep your rotor disc clear of anything solid.
Landing
Dropping vertically on the collective alone damages the aircraft. Use the same routine every time.
- Start your approach early, several hundred metres out, and slow down to roughly 50 km/h before the final stretch.
- Raise the nose slightly to bleed speed, then lower the collective in small steps.
- Level out and stop sideways drift before the skids touch down. Drift at touchdown is what rolls aircraft over.
- After landing, hold the collective down for a second or two. A helicopter left neutral slowly lifts again.
Two advanced approaches circulate in the community: a curved J-hook approach that banks in from the side, and a flare at around 30 to 50 metres with the nose level. Both are single-source techniques, so practise them at the Firing Range before you trust them with passengers.
You do not always need to land. A low hover lets passengers leave. Parachutes cannot be used close to the ground (see the Season 3 numbers below).
Parachutes in Season 3
- Basic Parachute: now an emergency parachute for bailing out of a helicopter. It opens slowly, cannot be pulled within about 20 m of the ground, is effective above about 100 m (survivable above 60 m if you react fast) and costs $1,250 (was $500).
- Sport Parachute: turns, glides and dives much faster with a stronger flare, built for BASE jumps. It is effective above about 60 m (survivable above 40 m) and costs $2,250 (was $700).
- Helicopter passengers now see their height above the ground above the minimap, so compare it with the height on the parachute tooltip before you jump.
- Parachuting into an enemy FOB now pays a reward.
Transport or attack?
For a pilot who is still levelling, transport is the better job.
- Transport (Little Bird, Lakota): carry passengers and pallets. Passengers pay $100 per delivery plus streak bonuses. A pallet drop pays $1,250 (the Pilot XP is 400) and large crates pay $500.
- Attack (AH-6M, AH-6R, Havoc): kill vehicles and infantry. Armed variants earn about 1.5 times the XP of the default variant. You also invite every air-defence system on the map, so pick areas without SAMs.
Repairing a helicopter now gives Pilot XP. Drops only pay in the zone. Season 3 lowered the safe drop heights: supply crates break from above about 35 m (was about 60 m), armoured crates about 35 m (was about 80 m) and supply pallets about 40 m (was about 90 m). Speed counts too, but you can still deploy safely at up to about 80 km/h at these heights. Supply crates also can no longer be deployed inside safe zones, because they blocked vehicle spawns at HQ and pilots' landing spots.
Staying alive
- Flares: fire them (V) when the missile is a second or two from impact, not at the first warning, then turn toward terrain.
- Talon 9K-SAM (buildable at a FOB): reloads in five seconds in Season 2 and is expensive to build. Two operators beat one pilot.
- Vanguard CIWS: its bullets ignore flares. Break line of sight. It cannot aim straight up, and in Season 3 its maximum aim angle dropped from 65 to 60 degrees, so the blind spot above it is bigger. Its 20x102mm rounds now damage each vehicle section once per round, with damage retuned so the Havoc and Lakota take about the same as before and the Little Birds slightly less.
- Flakpanzer Gepard (anti-air tank, Season 2): cost $14,000 and a Driver unlock at level 25.
- Verba launcher: a hand-held lock-on that can one-shot a Little Bird. You only get an audio warning.
- Shooting out of your own cockpit now damages your aircraft.
- Season 3 gave the cockpit of the MH-6, AH-6R and AH-6M more protection, so pilots and co-pilots survive a few more hits before being shot out of their seats.
- The AH-6R [Rockets] now fires its own 70mm rockets instead of the Havoc's 122mm ones. Damage against vehicles is unchanged, but the rockets wobble in flight and are slightly less effective against infantry.
- Vehicle-mounted miniguns do more damage to infantry again (for example +64 percent on the upper torso and +50 percent to the head).
- Never hover above a known air-defence site, and drop passengers short of the fight.
Pilot XP
Pilot XP comes from pallets (400), large crates (300), small crates (150) and delivered passengers (25), with streak bonuses for every step. Season 3 raised the XP needed for each level, bringing the pace closer to Season 1. The official notes give no new totals, so treat the old figures (level 10: 25,000, level 20: 111,500 in Season 2) as too low and check your level bar in game.
Quick tips
- Take a passenger with a parachute so you never have to land under fire.
- Learn on the unarmed Little Bird before you pay for a Lakota.
- Carry a wrench or repair tool for vehicle repairs.
- The repair spots of the Little Bird attack variants are reachable again in Season 3.
- If the frame rate drops over a big fight, see WARDOGS FPS boost.