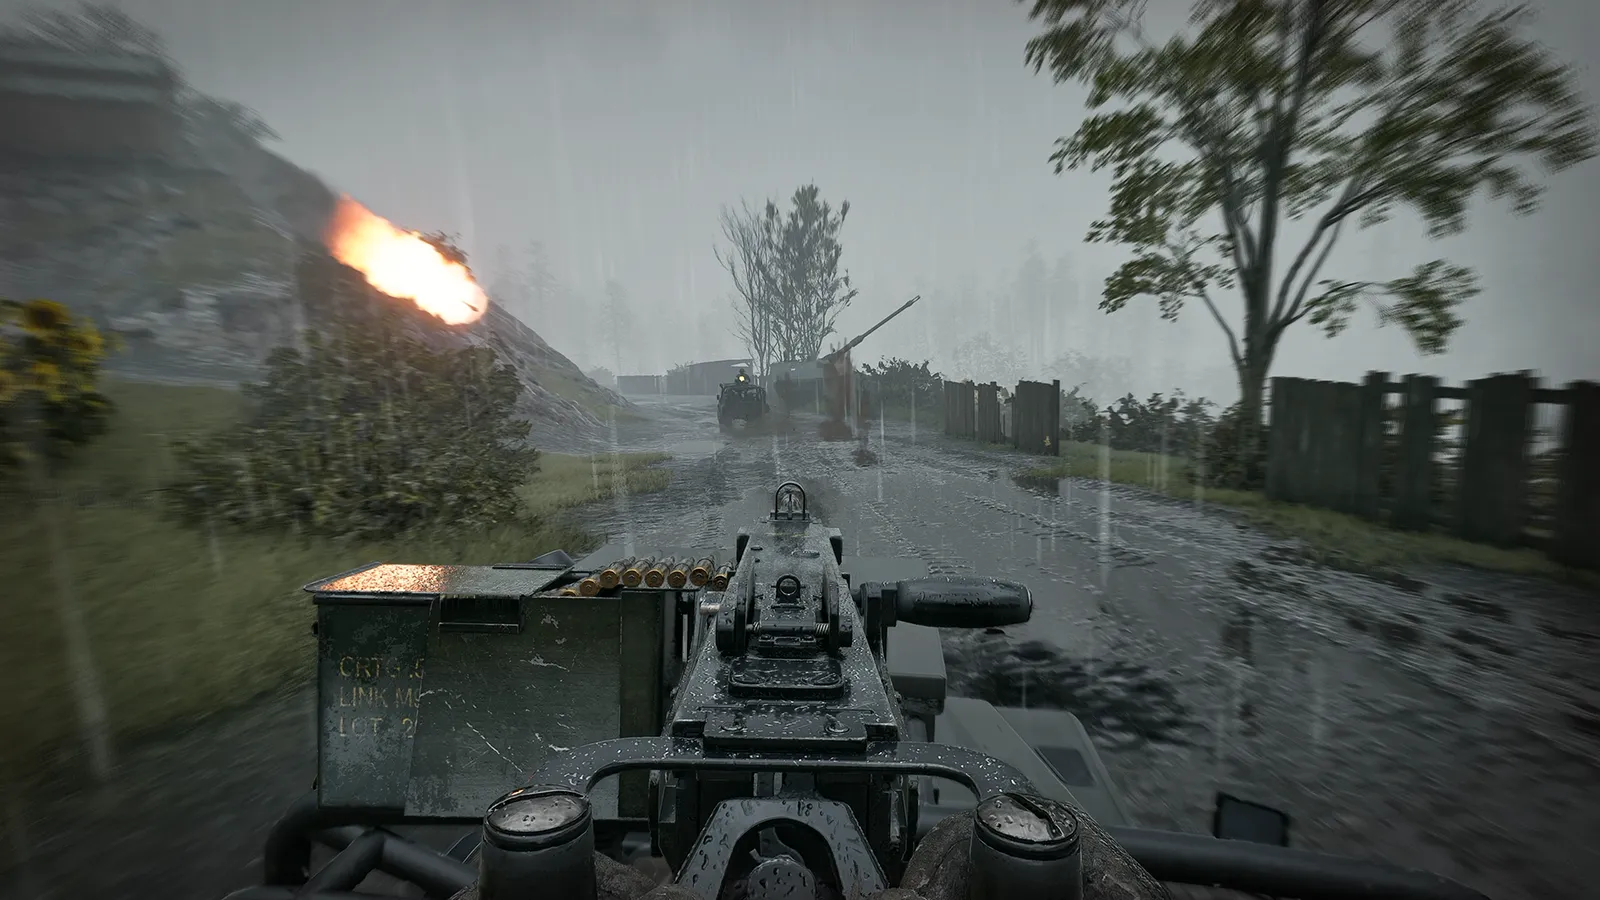
The mortar in WARDOGS is a FOB structure called the L81. You need a FOB, a large hammer and 600 Build Supplies (Season 2 values) to place it, and a stock of Ammo Supplies to fire it. It is a team weapon: the gunner needs a spotter, and the base needs somebody who keeps the ammo coming. This guide covers the mortar first and then the other indirect-fire options. Updated for Season 3 (12 November 2026): the Large Hammer needed for the build moved to Support level 14, and destroying an enemy mortar now pays double. Costs the Season 3 notes do not mention are Season 2 values.
What you need
| Item | Detail |
|---|---|
| --- | --- |
| FOB | $7,500 kit, placed with a squad |
| Large hammer | Support level 14 (was 8), $75,000 unlock (Season 2 value) |
| Build cost | 600 Build Supplies (it was 150 before Season 2) |
| Ammo | from the FOB's Ammo Supplies only |
| Range | roughly 600 to 700 metres (no official figure) |
The range covers most of a FOB's surroundings but not the whole 2 x 2 km zone, so plan what you can reach before you build.
Building it
- Equip the large hammer inside the FOB square.
- Open the build menu and find the mortar blueprint on the structures page.
- Place it inside the FOB range, away from the entrance. Do not put it at the edge, where it is the first thing an attacker sees.
- Hit the yellow markers to speed up construction. A teammate with any hammer can help.
- Surround it with HESCO blocks or sandbags, and leave a gap for the shell to clear tall walls.
- Keep a gate for the truck that brings ammo.
Ammo supply
The mortar takes ammo only from the FOB's Ammo Supplies. An empty FOB means an idle mortar. Ammo arrives by crate or pallet, and Season 2 required a pallet unlock for it (Ammo pallet at level 9, $25,000), so a new Support player may need to level first.
How many supplies one shell uses is disputed. The official notes say Season 2 changed the restock amounts and added a slower reload animation. One community reading is that a full pallet gives about 12 shells, but another source says 3 shells per load. Watch the FOB's ammo count and measure for yourself.
Firing
- Interact with the mortar to climb in.
- Aim left and right with the mouse or A and D, set range with W and S.
- Use the scope for fine aim. The tube holds three rounds, and R reloads.
- A middle click on the map pings a location for the team.
The spotter routine
The mortar needs somebody who can see the target and the impact.
- The spotter chooses a target and marks it.
- The gunner fires a ranging shot.
- The spotter reports where it landed: short, long, left or right.
- The gunner changes one variable (range or direction) and fires again.
- When the shot is on target, fire for effect.
Any Recon item (binoculars, a monocular or a rangefinder) can act as the spotter's eyes.
Good targets
- Enemy supply routes and parked trucks.
- Sandbag positions and clustered defenders.
- Tower stairs and entrances while a tower is being captured.
- Enemy mortar pits, if your spotter can see them.
A mortar destroyed by the enemy pays them $1,300 in Season 3 (it was $650 in Season 2), so a mortar pit left undefended is a costly gift.
Staying alive
Enemy scouts and mortars will hunt yours. Move or rotate your crew after a fire mission, keep the pit behind hard cover and kill enemy spotters. On the receiving end, spread out, stay mobile and cut the enemy's ammo line.
Other indirect options
- Stingray drone strike: one-way. Build cost 650 Build Supplies in Season 2 (it was 150), and destroying a Stingray launcher pays $1,300 in Season 3. A Season 3 fix also lets you buy Stingray ammunition again, which was broken on controller. Each launch uses 900 Mechanical Supplies. It is strong against the Spawn Vehicle, a firing SPH-2, a Gepard and emplacements. It is too slow to catch helicopters.
- SPH-2 artillery tank: a Driver-track vehicle. Season 2 moved it to Driver level 31 and cut its unlock to $350,000 (from $500,000). Season 3 lets tanks and artillery destroy stone walls, and the Driver track now places tanks later. Its spawn price is around $8,000, its destruction bounty is $8,000, and firing XP now counts as Driver XP. Artillery kills pay about 350 XP in the Support track, per community measurements.
Mortar or something else?
A mortar is a commitment: a large hammer, a pit, a stream of Ammo Supplies and at least two players. A small squad does better with barbed wire and a well-placed Recon Tower. Pick a mortar when your team keeps losing the same objective to a predictable attack path.
Common mistakes
- Firing before the spotter has a view.
- Changing range and direction at once.
- Putting the mortar in the open.
- Forgetting the three-round tube.
- Building a mortar with no supply route.
Quick tips
- Practise at the Firing Range, where building and firing are free.
- Mark targets with a ping so everyone sees the same thing.
- Rotate a gunner and a hauler.
- Read the FOB building guide before you spend 600 supplies.