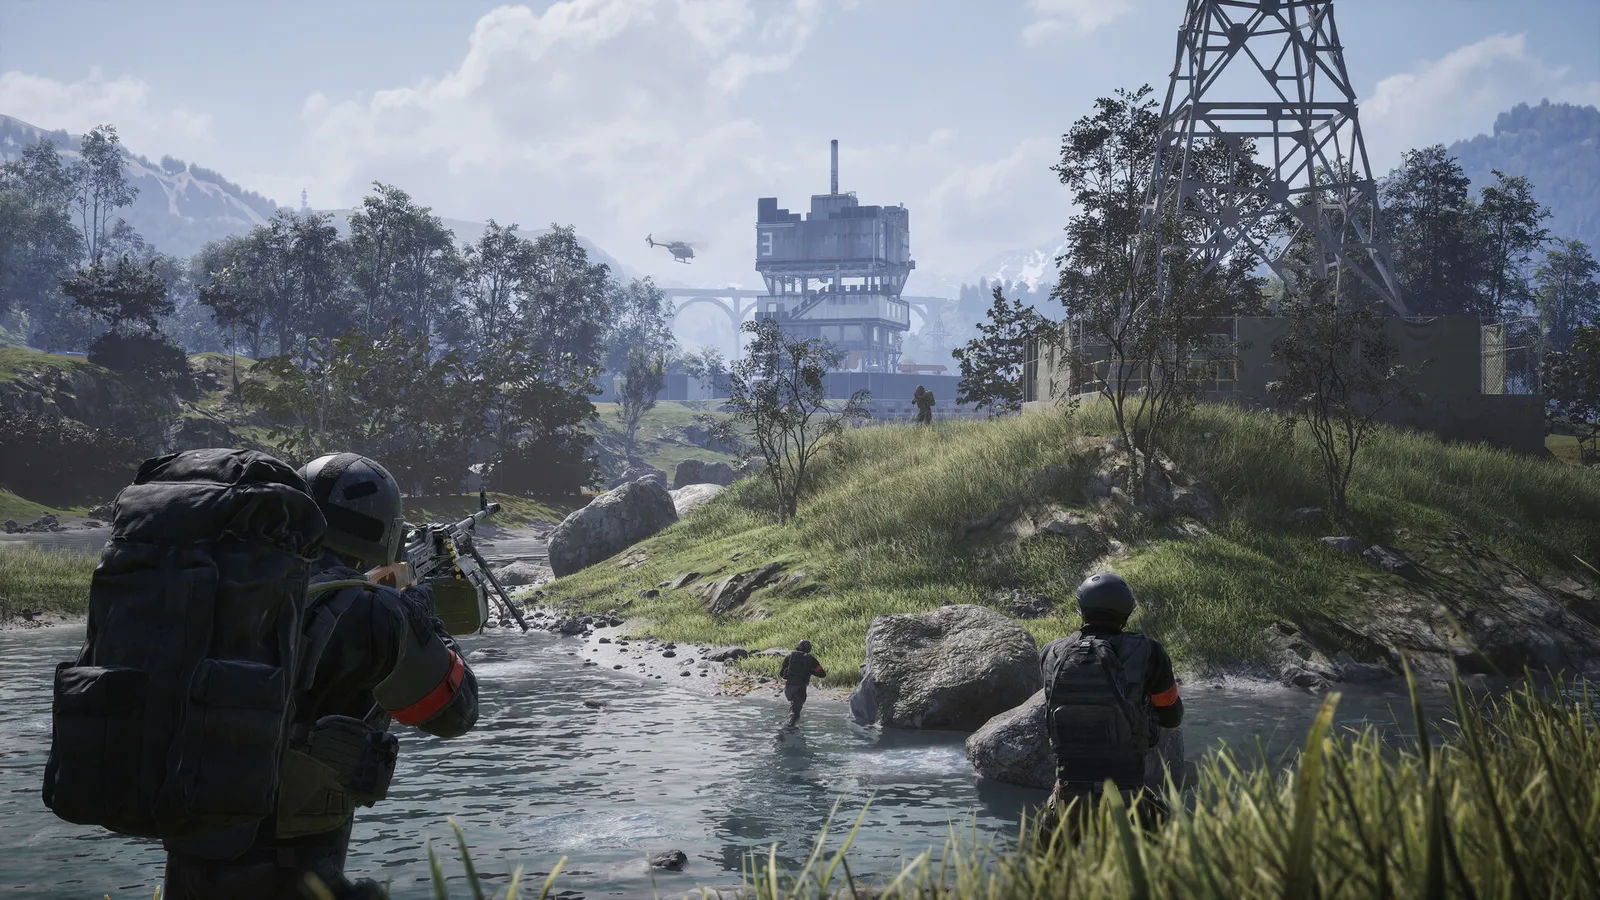
In WARDOGS every match is a fight over a 2 x 2 km Control Zone. Inside it a smaller, moving Hot Zone pays double. Towers let a team drag the Hot Zone toward them with a four-digit code. This guide explains the whole loop. Updated for Season 3 (12 November 2026), which adds the city map Sabatulo, a Limited Mode and a new rule for team switching. The scoring numbers below are Season 2 values that the Season 3 notes do not change.
New in Season 3: Sabatulo and Limited Mode
Sabatulo is the first city map in WARDOGS: tight streets, high-rises and plenty of destruction, with a central hospital, a swimming pool, a power station and the river embankment as key locations. Expect room-to-room and street-to-street fights, and use the high points for oversight.
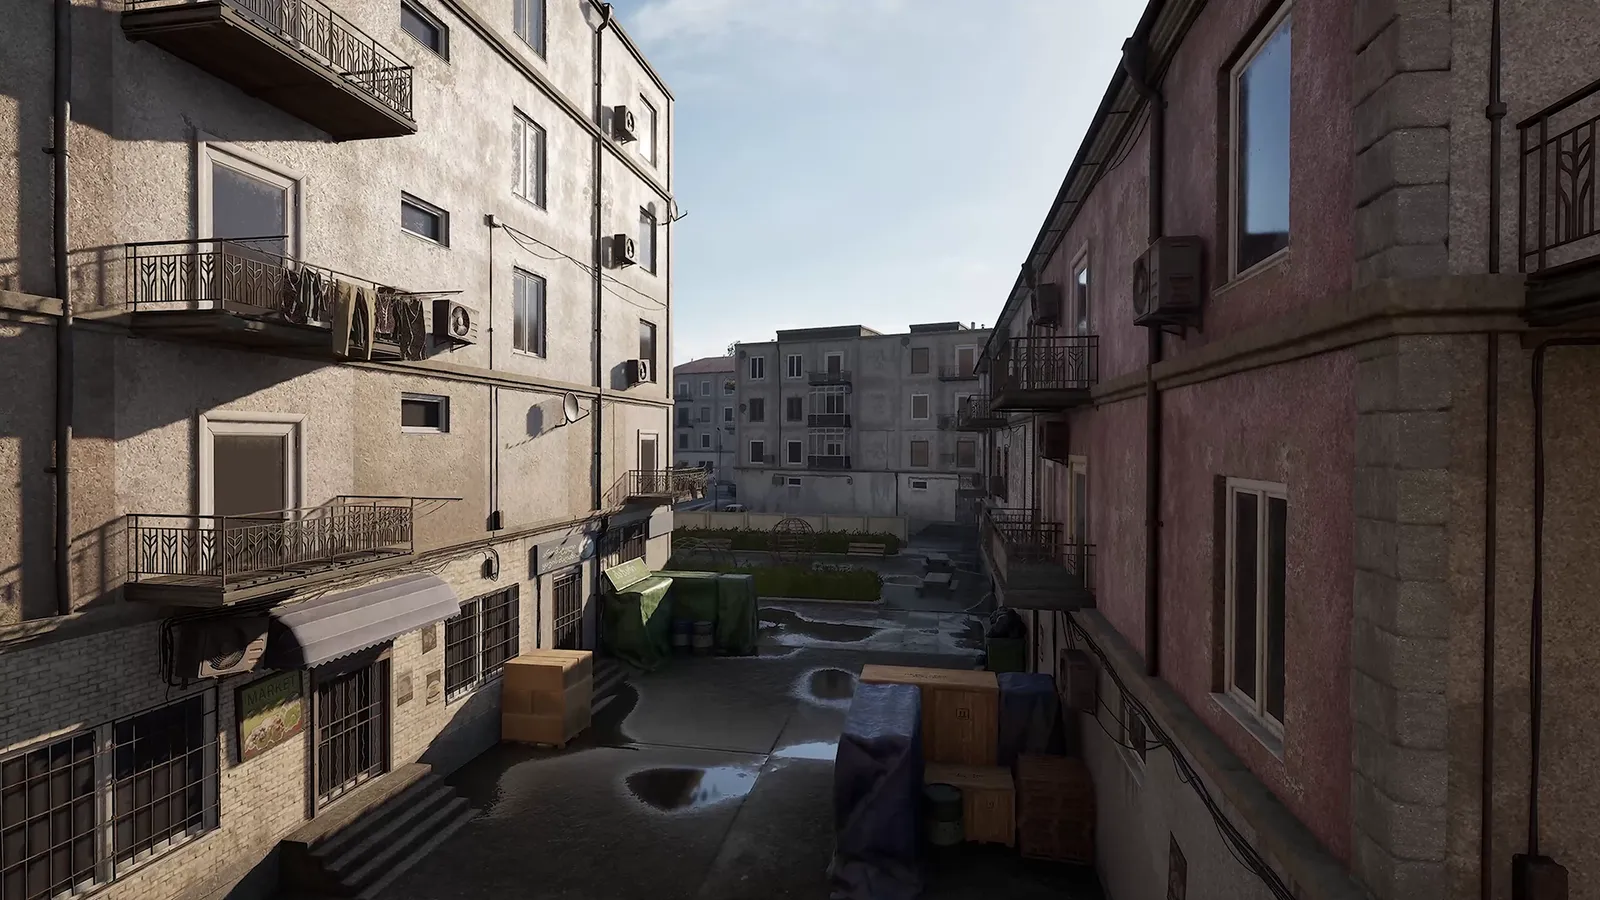
Sabatulo trades open fields for courtyards, stairwells and rooftops.
Limited Mode servers restrict the vendor to what is typically available early to mid season: no hollow point or armour piercing ammo, no Level 3 or Level 4 armour, no attack vehicles, no CIWS, Stingray, MG Nest or Drill Rig and no anti-tank mines. Cash and progress carry over to other modes, and the server browser can filter for Limited servers. The season now lasts about three months.
Scoring
- The team with the most players inside the Control Zone gains points on a regular tick (about 30 seconds in the sources we checked). The first team to reach 100 points wins.
- A player counts as one inside the zone and as two inside the Hot Zone.
- What you carry does not matter. A free rifle counts as much as a kit worth thousands.
- Kills outside the zone score nothing.
- Three teams means two fights at once. Weigh up who is winning and who is weak.
The Hot Zone
The Hot Zone is a smaller area inside the Control Zone that moves. Standing in it doubles your passive cash and counts for double. It is the place to revive, build and deliver supplies, because payouts for those actions also double there.
Towers
Each Control Zone has two to five towers, the tallest fixed objectives in the zone. They start on a cooldown of several minutes.
- Reach the console in the tower's operations room (the second floor in most reports).
- Hold interact to capture it. Capturing pays cash.
- Each capture reveals one digit of a four-digit code, with its position. The code is the same for the whole match.
- Share digits with your team in chat. Convention: use a placeholder such as XX5.
- When you have all the digits, enter the full code on the keypad next to the main console of a tower your team holds.
- The Hot Zone now slides toward that tower. The pull lasts for a limited time (no figure published).
Reports vary on whether wrong guesses lock the keypad after two attempts or put it on a cooldown. Guessing is not a safe plan. The map shows who owns each tower and the cooldown status. Enemies see the shift and will react, so bring defenders.
FOB Drill Rig
A Drill Rig on a faction-owned FOB can also pull the Hot Zone. In Season 2 it costs 2,750 Build Supplies, needs 1,500 to 2,000 fuel to start and runs for a maximum of roughly 300 seconds. Max fuel is 7,500 and a destroyed rig has a long cooldown. Capturing a hostile drill tower pays $1,500. Season 3 adds a kickback for depositing fuel into a FOB that activates a drill, and limited servers have no Drill Rig. See the FOB guide for how to supply it.
Spawning
- You spawn at your faction's main base. A free Kodiak is first come, first served. While a server is seeding, a few unarmed vehicles spawn for free for each team and are cleared when the match starts.
- Once any team reaches 20 points, an armoured Spawn Vehicle appears at the bases and teammates can deploy into it near the zone.
- FOBs are not spawn points.
- Players who join late have an obscured map and no spawn vehicle until they reach the zone.
Balance rules
- When a team leads by more than 10 points, players who switch teams are locked out for 15 minutes (Season 2 value). In Season 3 the penalty that hides tactical map information until you enter the control zone only applies if you connected to the server earlier in the current match.
- The vendor discount for the losing faction is now based on how far it is behind the first-place faction, not the faction directly above it (Season 3). The Season 2 rule was 20 percent off for a team 40 or more points behind the second-best team.
- Arranging truces with another team is against the rules.
How a squad uses this
- Hold the Hot Zone with a medic and an assault player.
- Send one player for towers, with a driver ready.
- Keep builders and haulers behind the front line, on the road to the FOB.
- When the Hot Zone drifts away, follow it with a vehicle rather than walking.
Quick tips
- Stay inside the zone. Points come from bodies, not kills.
- Type tower digits in team chat as soon as you learn them.
- Defend the tower you just captured: the enemy sees the pull too.
- Read the beginner tutorial if you are new.