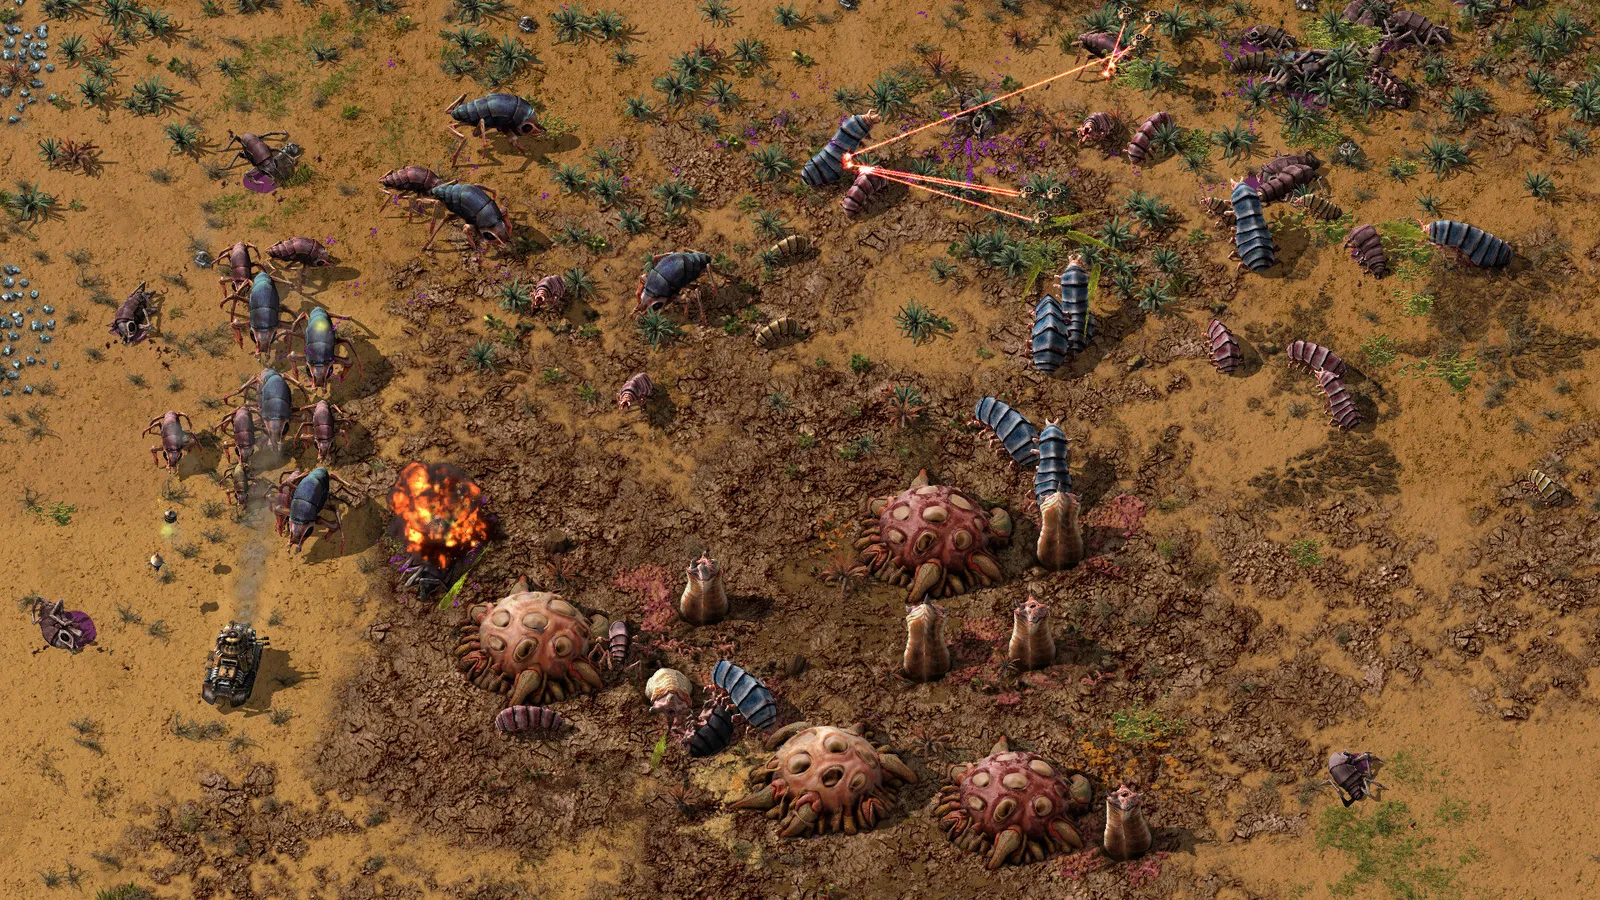
Factorio's biters attack because your factory pollutes: when the pollution cloud reaches an enemy nest, the nest turns the pollution it absorbs into attack groups. The cure is a mix of controlling where the cloud goes, clearing nests that sit inside it, and building a defence that grows with the enemies' evolution. This guide explains how evolution works, which enemies you will meet when, and how to choose between gun, flamethrower and laser turrets. Numbers come from the official wiki figures for Nauvis.
Why do biters attack your base?
Enemy nests produce units all the time, but they only attack aggressively once your pollution cloud reaches them. The pollution a nest absorbs is consumed to build the next attack group, and attacks launch at random intervals of roughly one to ten minutes. The groups take the shortest path to the source of the pollution, walk around your buildings if a clear route exists, and attack whatever blocks them. Units that get close to your military structures or turrets switch targets and fight those instead.
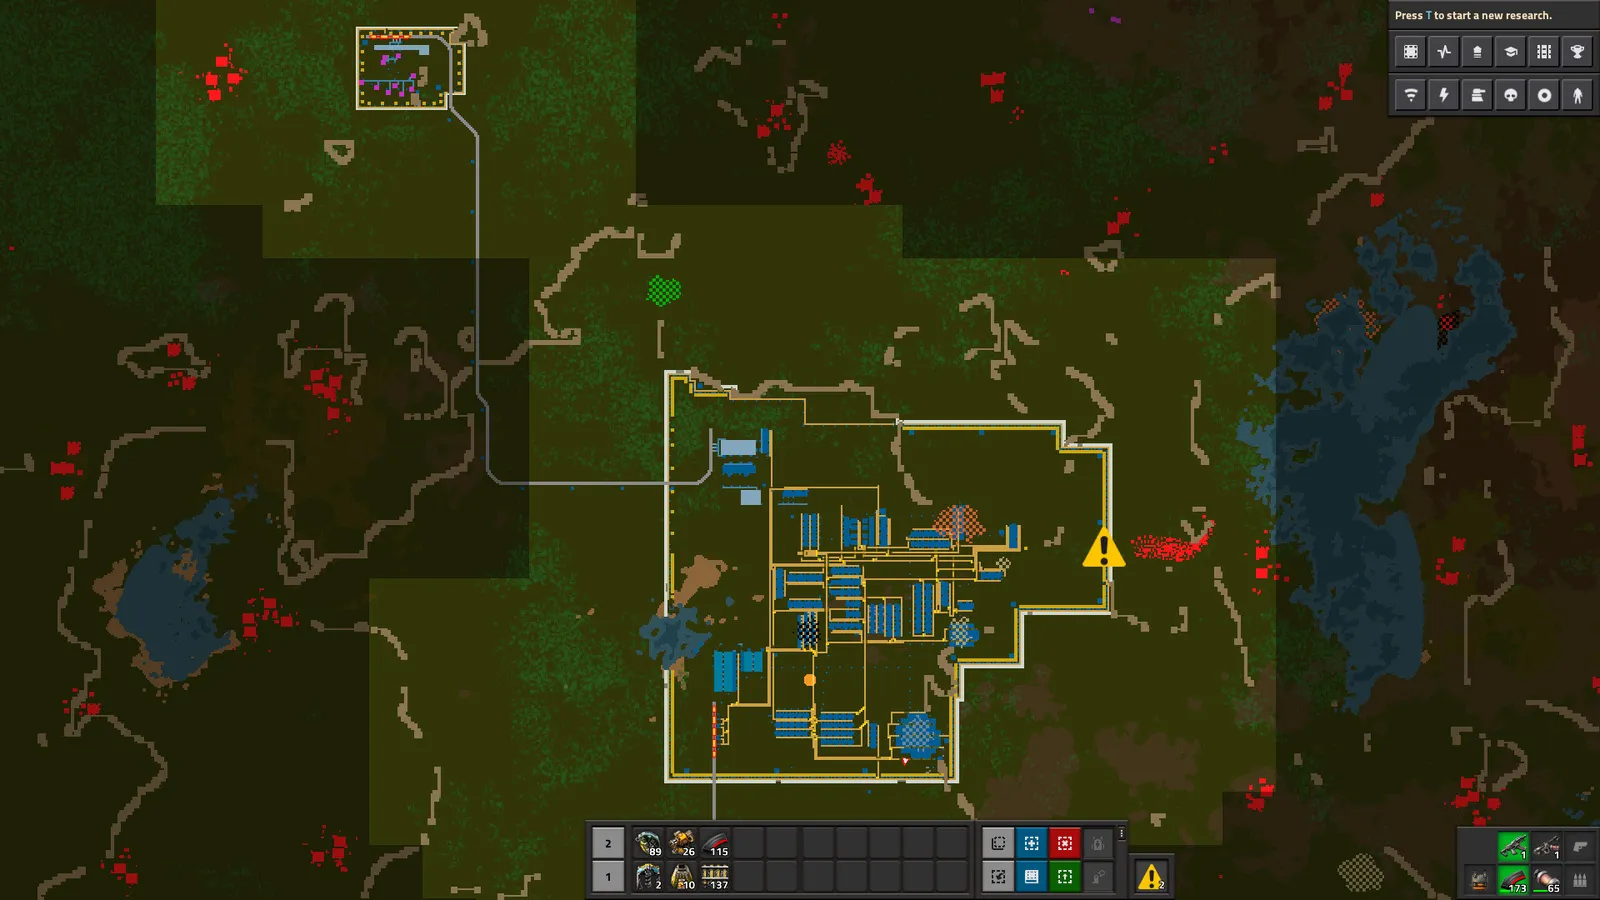
The map view shows which nests sit near your base and pollution cloud.
Separately, enemies also expand: they send small groups to found new nests in unclaimed land. This is why a quiet base can still end up with a nest on its doorstep after a few hours.
- Look at where the pollution cloud is spreading in the map view (the pollution overlay).
- Clear every nest that sits inside or near that cloud. Without a nest absorbing pollution there is no attack.
- Reduce pollution at the source: efficiency modules, electric furnaces, and fewer boilers all help.
How does evolution work?
The evolution factor is a hidden number between 0 and 1 that only goes up, and you can check it any time with /evolution in the console. Three things raise it:
- Time passing, at a small fixed rate per second.
- Pollution your factory produces. This counts everything you produce, not just the cloud that actually spreads.
- Destroying spawners. Each destroyed nest adds the same amount; killing worms does not count.
Growth slows as the value gets higher, so the early percentage points come fast and the late ones slowly. Space Age tracks evolution per planet, so pushing hard on one planet does not make another one tougher.
Which enemies appear at which evolution?
| Evolution | New enemy |
|---|---|
| Start | Small biters |
| 20% | Medium biters |
| 25% | Small spitters |
| 30% | Medium worms |
| 40% | Medium spitters |
| 50% | Big biters, big spitters, big worms |
| 90% | Behemoth biters, behemoth spitters, behemoth worms |
For scale: a small biter has 15 health and bites for 7 damage, a medium biter has 75 health, a big biter 375 health, and a behemoth biter 3,000 health with a 90 damage bite. Spitters shoot acid from a distance (13 range for a small one, 16 for a behemoth), which is still less than a gun turret. Worms are the real range problem: they never move and defend a nest like turrets, and their range grows from 25 for a small worm to 48 for a behemoth one, so even a small worm outranges a gun turret's 18.
Which turret should you build?
| Turret | Range (normal quality) | Health | Needs |
|---|---|---|---|
| Gun turret | 18 | 400 | Ammo magazines, no power |
| Flamethrower turret | 30 (min 6, 120 degree arc) | 1,400 | Crude, heavy or light oil piped in |
| Laser turret | 24 | 1,000 | Electricity: 1.2 MW while firing |
Gun turrets cost 10 copper plates, 10 gears and 20 iron plates. They need no power and fire up to 10 shots a second, but the ammo has to be restocked. Inserters can feed a turret up to 10 magazines, and a line of turrets can pass ammo down the chain through inserters. Physical projectile damage research boosts both the ammo and the turret, and the two bonuses multiply.
Flamethrower turrets deal enormous burn damage in a cone and survive far more punishment than a gun turret, so they are the usual mid-game choice once you have oil (see the oil processing guide). They cannot shoot to the sides or behind, so aim them at where enemies come from.
Laser turrets need no ammo, only electricity, and the bursts are heavy: each shot costs 800 kJ. Add accumulators so a big wave does not brown out your factory. Laser turrets are good against biters and spitters on Nauvis but weak against some Space Age enemies, so do not rely on them everywhere.
How do you lay out a defence?
- Find the direction the attacks come from by watching where groups spawn and travel for a session.
- Place a cluster of turrets there, mutually covering each other. A single turret on its own dies to the first big wave.
- Put walls a few tiles in front of the turrets so melee biters stop and chew on the wall while the turrets shoot. Do not put the walls so far out that the turrets cannot reach.
- Repair and restock regularly; a defence that was great two hours ago may be hopelessly outclassed after the next evolution step.
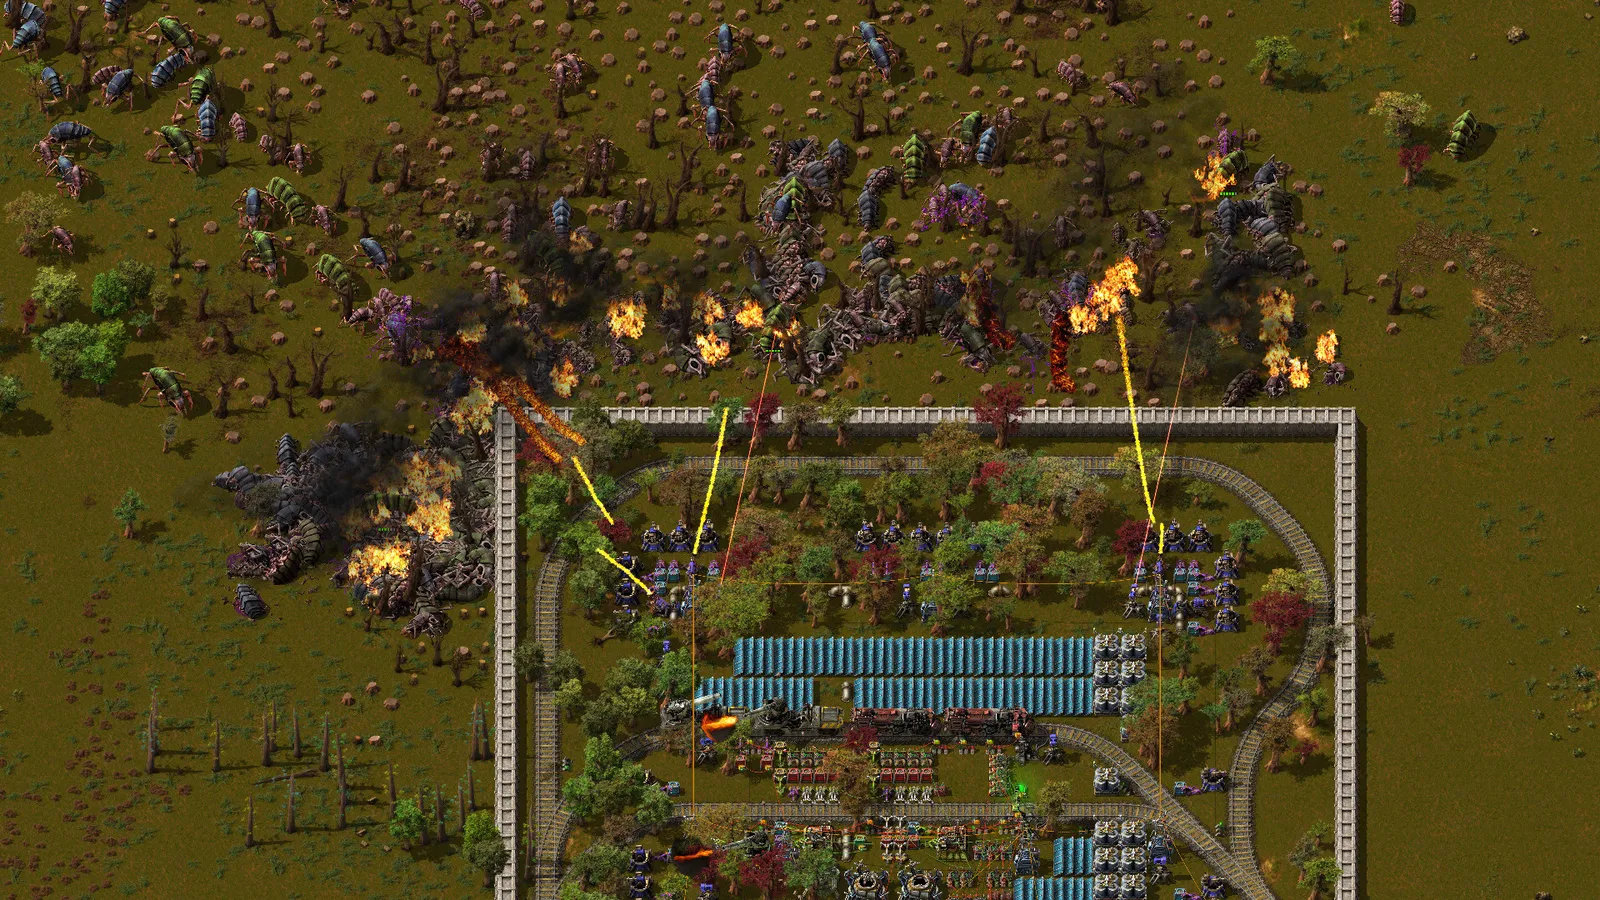
Turrets behind a wall let the biters come to you.
Quick tips
- Research physical projectile damage early; it makes every gun turret stronger at once.
- Kill the nests near your pollution first, and only then build a perimeter.
- If you want a calmer game, lower the enemy settings when you create the map, or turn them off in peaceful mode.
- Combine layers: lasers for no-maintenance range, flamethrowers for the heavy hitters, gun turrets as a cheap filler.
- Return to the beginner guide if your base is not yet set up for the first oil.